Making toiletries and soap at home has long been on my radar.
While we’re in Lockdown and staying home, we have been gifted time to get creative. I’ve been using some of my time to embark on random acts of creativity and learn and experiment with new crafts.
I believe that big change starts with small changes at home.
Tackling the enormity of climate change can seem so overwhelming and insurmountable that it’s easy to despair. But, if we all make small changes in our consumption and disposal habits we can collectively make a difference.
It’s about making simple swaps for everyday items for those that are more sustainable, not sackcloths, sandals and self-flagellation. Being ‘green’ doesn’t mean compromising quality and little luxuries.
When I shop for toiletries, it annoys me they are so heavily packaged in single-use plastics. It also bothers me that when I read the ingredients in products like shower gels and shampoos, I can’t even pronounce most of the items, let alone know what they are doing to my body!
This is one of the simple swaps I want to make. Also, to experiment and have a bit of fun with it.
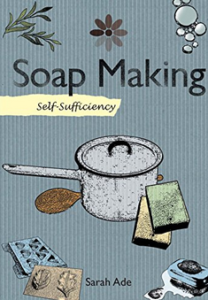
It Started With A Book
To inspire me, I bought this book from Amazon:
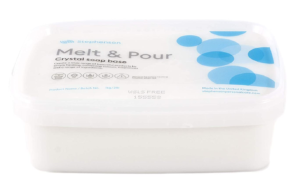
The soap making purists would sniff at using melt and pour soap base (pardon the puns).
However, I have quite a random approach to anything I create in my kitchen, so it’s a quick and easy gateway into the world of soap making.
Because it’s not such an accurate chemistry process, melt and pour bases are more forgiving to experimentation.
I started with the basic Melt & Pour Crystal Soap Base
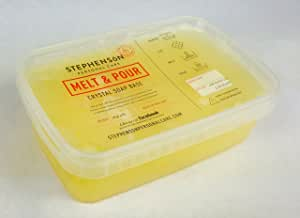
But there are bases available with other additives and properties such as Goat’s Milk

And Argan Oil
Start Small and Simple
I was a little concerned, having read through this book, that getting the proportions wrong could cause harm to my skin. It also put me off that it takes weeks of curing for the saponification process to complete.
That’s not to say I won’t try soap making from scratch in the future, but I wanted to get more confident first before I started buying lye in kilo quantities off the internet!
What was really useful in this book, were the recipes, with suggestions for combinations, but also the comprehensive lists and information about what and why to add particular ingredients. It helped me to recognise what combinations would work, depending on what I wanted my final product to achieve.
For example, Rosemary for healthy hair.
What Else Do You Need?
You can easily get carried away with soap making products. There are so many things to choose from.
When it comes to trying a new craft for the first time, I would discourage anyone from going out and buying all the fancy stuff. Start with the basics and use what you already have before you spend lots of money on all the gadgets and gizmos.
I say the same to any new businesses I support with my mentoring services.
You don’t need all the gear and bells and whistles to start.
Don’t take on a big burden of debt to buy technology, resources, stock and equipment that you don’t need from day one. Start small. Test, evaluate then build – step by step.
I recently worked with a group of photography students at City of Bristol College to run a Thinking About Business workshop. One of the group asked about funding and grants to buy the latest camera and lighting rigs – with the skills she had and the camera she was already using, she had more than enough to start a business. The fancy lighting rig and state-of-the-art digital SLR camera could come later.
Those things can be the rewards you give yourself through your business as it grows.
I don’t have plans to jack in my consultancy business and start a soap business (not yet anyway!) but the principle is the same.
Use what you have and reward your future successes with all the fancy things later.
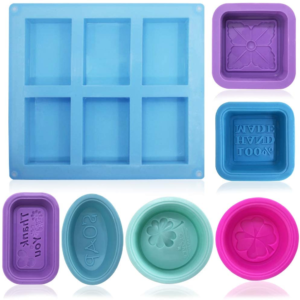
Basic Equipment
- Saucepan
- Pyrex dish
- Old spoon
- Silicone moulds
I already had silicone cake moulds – meant to be cupcake-sized but also ideal for flat round soaps that are a nice size in the palm of my hand.
Alternatively, you could get rectangle or oval moulds for soap in traditional shapes
Basic Ingredients
Soap made with this method is made up of 2 ingredients:
The most basic soap is…
-
Melt and Pour Soap Base
-
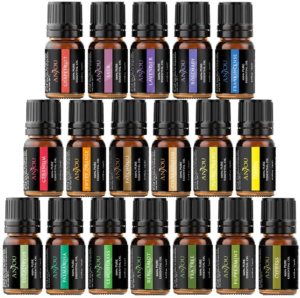
Your choice of essential oils
This will give you a solid, dependable (but a bit boring) soap bar.
It’s time to get creative and add other ingredients for different results, looks and textures.
- Oils and butters – Such as Olive oil, Almond oil, Avocado oil, Shea Butter, Cocoa Butter, Coconut oil…
- Beeswax
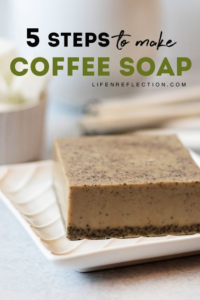
- Dry goods – herbs, spices, oats, nuts, coffee grounds, sugar or salt crystals, leaves, dried petals and flowers, citrus zest … If you’d put it in your mouth you can use it on your skin. Have fun with what you have in your kitchen cupboards!
- Food colouring – I used Turmeric for a yellow soap…
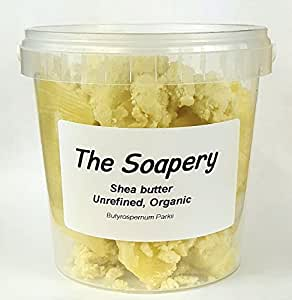
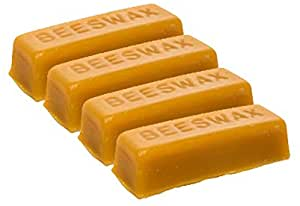
I already had some She Butter and beeswax from an experiment last year to make my own moisturising cream and lip balm.

I also have Coconut Oil in my kitchen cupboard for cooking.
The Process
Start with small batches and experiment with different additives.
Although none of the raw ingredients here should harm your skin (unless you have an allergy), it’s wise to wear rubber gloves to protect prolonged expose so your skin doesn’t dry out. Also, wear an apron so you don’t ruin your clothes with waxy splashes!
1. Fill the saucepan with a little water and put on a low heat to get the water boiling gently.
2. Put the pyrex bowl on top of the pan, making sure the water doesn’t touch the bottom of the bowl, tip out the excess water if you need to
3. Scrape flakes of the soap base out with an old metal spoon and into the bowl. It’s better, and melts quicker, if you scrape away at the soap base and add flakes rather than cutting out a block to melt
4. Gently melt the soap base in the bowl over the water (in the same way you might melt chocolate), stirring to get rid of all the lumps. Keep the water on a low heat and every now and then release a little of the steam trapped under the bowl to stop it getting too hot.
5. Once your soap is melted into a gel-like liquid, you can add your oil/butter. I went with the trial and error approach. For a softer, oily soup use more oil/butter for a solid soap add more soap base and for really solid soaps or to offset adding too much liquid you can also scrape/grate in some beeswax. If you are adding lots of dry ingredients (i.e. oats) you may want to add a little more oil as the dry will soak up some of the liquid.
6. Once everything is melted and combined, take it off the heat and stir in drops of essential oil. Don’t go overboard, a lot of essential oil can be irritating to skin as it is super concentrated. Aim for 10 – 15 drops per small bar of soap in whatever combinations you like, a little extra if you want it to be more fragranced.
7. Add your dry ingredients at the end, stir in. If the soap starts setting while you’re stirring you can place the bowl back on the pan and warm it through.
8. Pour into your moulds and leave to set.
It takes 4 to 6 hours to set but I leave mine overnight to be sure. When you add extra oils it can take longer to solidify. Generally, a 1 part oil to 2 parts soap base mix will get you a good setting texture.
The great thing about the melt and pour soap base method of soap making is that if you come back the next day and if your soaps haven’t set, you can always re-melt them.
If your soap is too soft, melt more soap base or wax in the bowl over the water (repeating step 4). Once it’s melted add your soft soap to the mix, melt and stir in then pour it back into the mould.
For soap that is too solid, melt it in the bowl then add more oils/butter to soften it.
Where To Find Recipes?
Pinterest!
Pinterest is full of fabulous recipes and ideas.
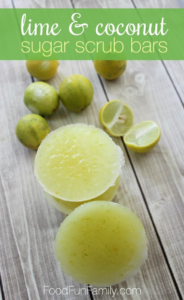
Here are a couple of good ones that I’ve tried, adapted and have inspired my own ideas:
Making up your own combinations
- Use citrus oils (like Sweet Orange, Grapefruit, or Lemon) for a zesty fresh soap – ideal for a refreshing wake up shower. Add orange/lime/lemon zest for bonus fragrance, a pretty soap and added exfoliant.
- Zingy wake-up use Peppermint oil – add dried mint from your spice rack to make a pretty soap with added exfoliant
- Sniffles-busting revitalising soap use Eucalyptus oil. Ramp it up with Lemon or Peppermint, too.
- Warming, spicy soap – think Christmas spices – Sweet Orange and Cinnamon oils. Add dried cinnamon from your spice rack for a rich colour and added scent
- Moisturising and gently exfoliating – add oats, honey and shea/cocoa butter – this will be lightly fragranced from the honey and oat but add a complimentary oil for extra scent, such as Tea Tree or Bergamot
Other ideas
Think about soap for different uses, for example:
Minty foot scrubber
Oaty soft exfoliating face soap
Soothing pimple-fighting tea tree face soap
Gifting
If you get really into it, or find you make far more soap than you can use at home, homemade soap can make a lovely gift.
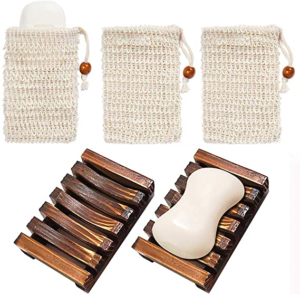
I like this sisal pouch and soap dish combo.
Put your homemade bar inside the bag and wrap it together with the dish.
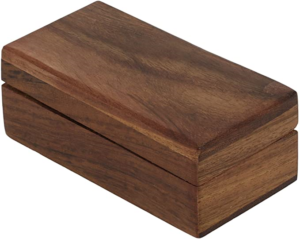
Or get a trinket box (charity shop bric-a-brac shelves often have them) – wrap the soap neatly in a sheet of Greaseproof paper, place it in the box and wrap it, perhaps with a nice card explaining what’s in the soap and what to use it for.
And finally…
My first attempts!
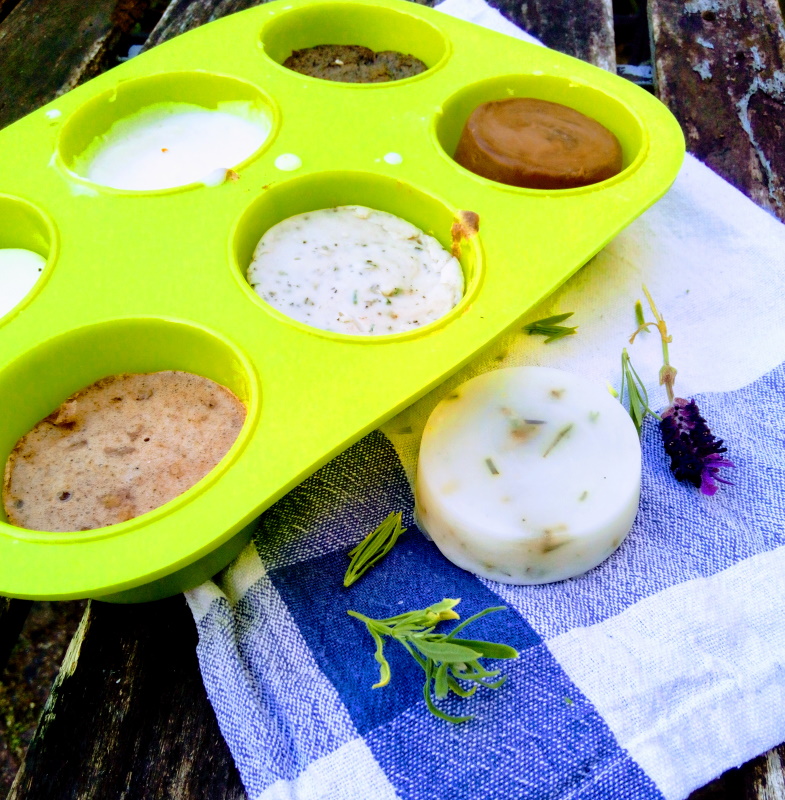
Some more successful than others, but they all smell amazing!
… and my husband is complaining that there are now several types of soap next to the kitchen and bathroom sinks!
 Flip This on Flipboard
Follow me on Bloglovin’
If you like what you’ve read, say thank you by topping up the coffee kitty here. £2.50 /$3 will get me a cappuccino, Thanks 🙂