
We’ve been conditioned to know the cost of everything and the value of nothing.
Since the Industrial Revolution, time and money have been inextricably linked.
One thing many of us have learned during the Coronavirus Crisis is the value – the currency – if you like, of time.
Suddenly, we have the time to realise what is really important to us.
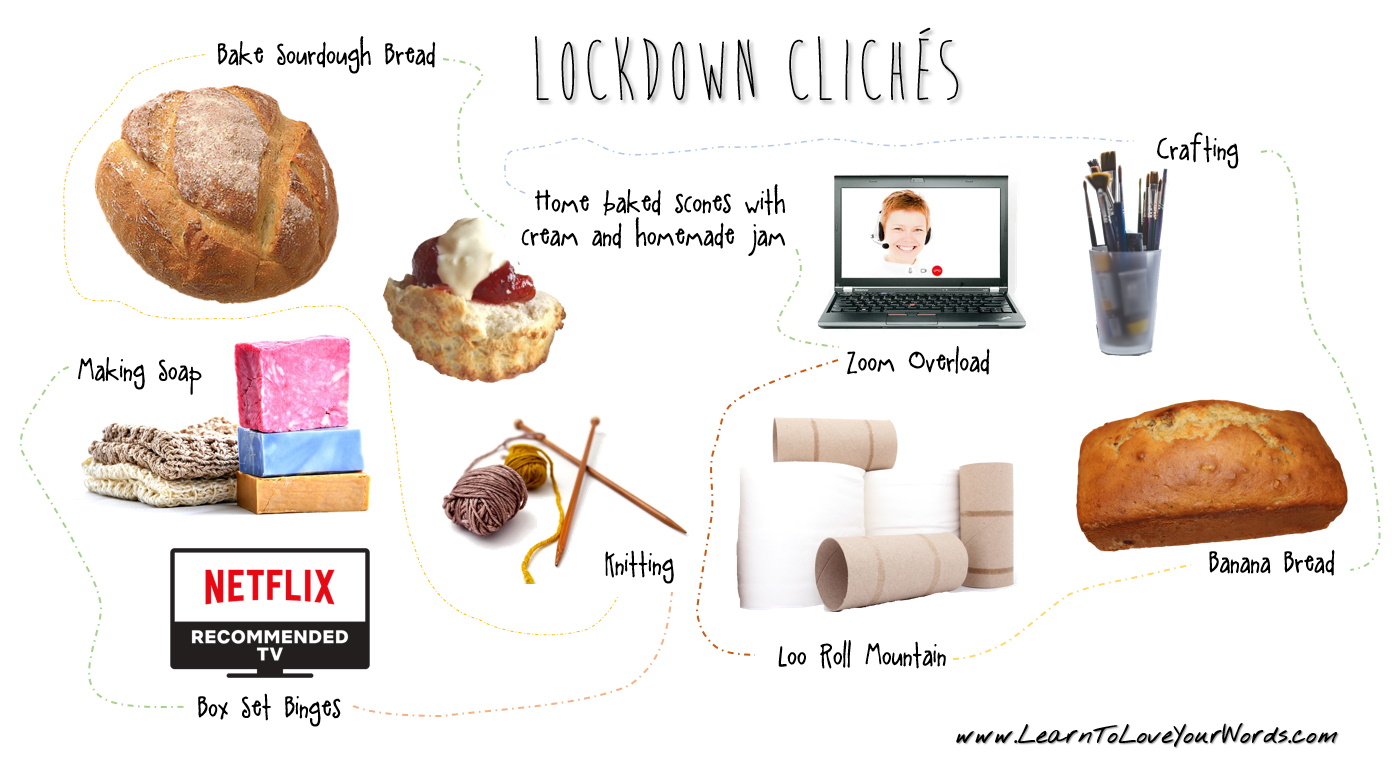
On top of the list of ‘Things To Do In Lockdown‘ clichés is probably baking sourdough!
But, is really worth the effort?
When it comes to our daily bread, what’s the best value?
While it may be financially cheaper to get shop-bought mass-produced bread, it’s not necessarily a saving when you consider the cost to the environment (for example, with lengthy supply chains and plastic packaging), and the cost to your health.
My response to the question on a Frugal Living group on Facebook about the cost vs the value of home-baked bread was, it depends…
Sometimes, a cheap white sliced loaf is enough to satisfy your kids or give you something quick and cheap to eat, but it’s nutritionally dubious!
Other times, you may prefer an artfully made loaf, fashioned by thrillingly wrinkled fingers.
Perhaps bread with all sorts of tasty things added like olives, herbs, nuts, seeds or onions? You can pay upwards of £4 for such luxurious bread from a local bakery. A delicious, nutritious but potentially expensive habit!
So, why not try it at home instead?
You can’t put a price on the sense of satisfaction of baking your own bread. Or the wonderful smells filling your home. The joy of seeing it double in size and bubble up gorgeously when kissed with a little heat.
Once you master basic bread dough, the possibilities are endless.
The basic dough ingredients are inexpensive (flour, yeast, salt and water), as are the additives (herbs, spices, oils, milk, seeds, etc.), especially if you grow your own herbs.
You can make batches of a simple dough to keep in the fridge for several days and use it when required.
A bread machine is brilliant and simple for this. I’ve never regretted the purchase of my Morphy Richards bread machine. I even had to replace the pan because I wore it out making so much bread!
Once you have your basic dough, you can batch off what you need, kneading in other ingredients later.
Knead in your goodies, shape it, let it rise then bake it.
There are plenty of good books of bread machine recipes for inspiration and you can collect your favourite recipes from blogs and online articles on Pinterest.
Old Fashioned Bread
Making bread from scratch the old fashioned way is something I’ve not done for a while – thanks to my mate Morphy Richards.
One thing I often buy from the bakery is a springy sourdough with a gorgeous crispy bubbly crust. The gnarlier and crunchier the better.
Now seemed like the perfect time to have a go at making my own.
Bring Home The Bread
Bread is a fantastic metaphor for small business.
Yes, you could be the cheap white, mass-produced loaf – or you could choose to be the lovingly prepared oat-dusted crunchy sourdough.
I want to live in a world where more businesses are sourdough and fewer businesses are massive environmentally destructive flimsy white bread.
Cheap does not always mean cheerful.

What Is Sourdough?
Sourdough is a naturally cultured fermented bread.
During the baking process, rather than using commercial yeast, either dried or fresh, you effectively ferment your own yeast culture with a Soughdough Starter.
How To Make A Sourdough Starter
To answer this question I bought a book.
That tends to be my default; wanna learn something, get a book!
My learning style is seeing things, reading / writing about them to embed my learning, then having a go.
I bought this book…
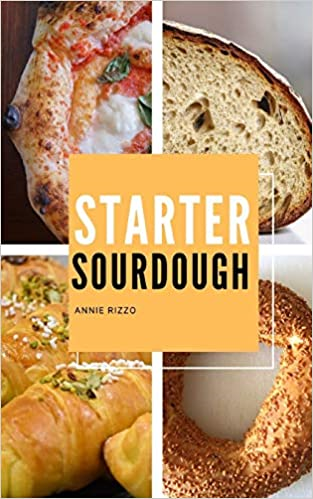
There are some issues with the layout of this book, but the content is fine and I used this starter method for my first attempt at a sourdough culture.
For my first loaf, I wanted to make something simple and found a recipe in this old leaflet.
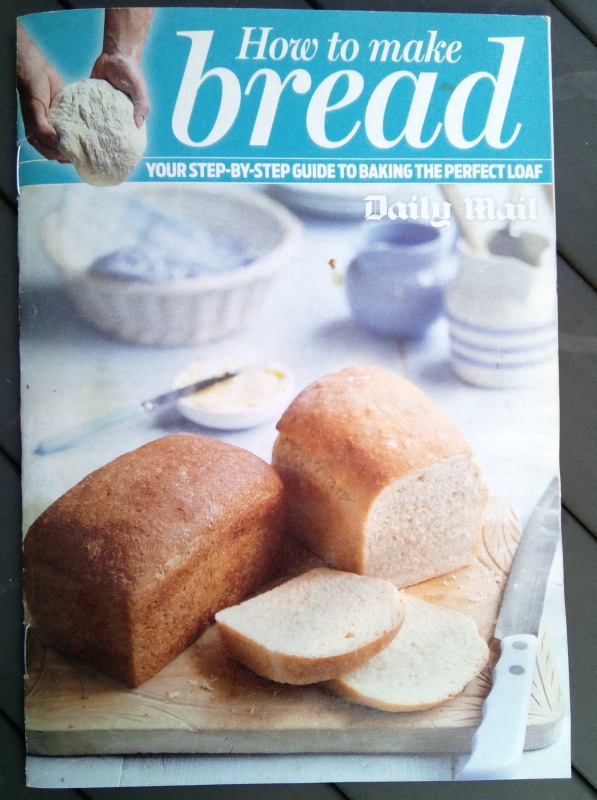
Don’t judge me, I don’t read The Daily Mail, but I was given this booklet ages ago and it has a selection of different bread recipes, including two sourdough recipes.
I used good quality flour from the farm shop for my starter, rather than the cheap supermarket stuff. But I’m happy to use the cheap stuff to make a loaf.
I felt for a good quality starter that I could keep fed and healthy indefinitely I should use better quality flour.
The basic Steps to Create a Sourdough starter
You will need:
- Good quality unbleached strong white bread flour
- Warm water
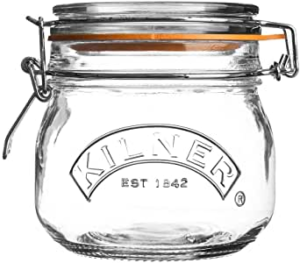
- A large jar – A Kilner Jar would be ideal (I’ve also used an old large mayo jar with a plastic layer inside the lid)
- Wooden spoon
Method one
The big bowl on a sunny windowsill method
This is the one in the book and was my first attempt.
Essentially, the basis of this starter is to use equal amounts of warm water and flour and keep feeding and discarding it.
Add a cup of unbleached white organic bread flour and a cup of warm water to a non-metallic mixing bowl, stir with a wooden spoon. Cover with a tea towel and place on a warm windowsill.
I rinsed the tea towel thoroughly with cold water first to get rid of any traces of fabric softer in case it tainted the brew.
Apparently, mental can react with the acids in the fermentation process so best to avoid metal spoons bowls or jar lids (unless they are coated inside).
After 24 hours, pour out half the mix then add another half cup of flour and half cup of warm water, stir, cover and leave on the windowsill.
Repeat this process for 7 days.
Method two
The jar in the fridge method
This is the one in the leaflet and was my second attempt.
Day 1 mix 1 Tbsp of unbleached white organic bread flour and 2Tbsp of warm water in a jar. Seal the jar and stand overnight somewhere warm.
Days 2, 3, 4, 5 Each day add 1Tbsp flour and 2Tbsp warm water to the jar and stir. Over time, more and more bubbles will form on the surface.
Day 6 – Make the starter. In a large bowl, mix 1 tbsp from the jar with 150g (5 1/2 oz) flour and 150ml warm water. Cover and let ferment overnight. The next day, use the quantity required for your recipe and discard the rest.
Store the starter jar in the fridge and feed it each time you use some.
My first batch didn’t work.
I tried to make a dough with my starter from method 1 and despite leaving it overnight it didn’t rise. I think it was user error rather than the fault of the recipe from the book – I ‘killed’ it when I accidentally stirred my mix with a metal spoon!
However, since then, I read that the acid liquid film on top of the starter was an indication that it had gone dormant. I drained off the liquid, fed a small batch of the starter again and continued to top it up with flour and warm water every day for a further few days to see if I could revive it.
I didn’t waste my unrisen dough, however. It was still a lovely springy and elastic dough so I used it to make flatbread (from step 7 in the recipe below).
Simple, Unleavened Flatbread
This simple flatbread is perfect with curries, soups, falafel, pasta, chilli…
Spread it with garlic butter while you’re cooking the reverse side for a perfect accompaniment to pasta.
In Bulgaria (we lived there for a while) it’s called Parlenka bread and is traditionally served with feta style cheese crumbled over it.
When you’re making a quick lunch and realise you have no fresh bread in the house a simple flatbread is hearty, tasty and quick lunch with whatever fillings you have to hand.
Great for ripping and dipping into a boiled or poached egg for breakfast. Or spread it with mashed avocado and top with a poached egg for a satisfying weekend brunch.
Ingredients
- Flour (strong bread flour, self-raising, gram or plain flour all work) – about a cup per portion
- Warm water
- Salt (a generous pinch)
Method
- Pour a small pile of flour onto a clean work surface.
- Sprinkle over a little salt.
- Make a well in the middle.
- (Optional: drizzle in a little oil – this helps give the bread more richness and make it more malleable)
- Slowly and methodically drizzle water into the well, using a fork to sweep in the flour, mixing continuously until it starts to come together in a dough.
- When the dough mix loses its stickiness and starts to come away cleanly from the surface, spread out a dusting of flour on the work area.
- Pull and knead your dough with floured hands, activating the gluten to create an elastic texture.
- Roll, knead and pull the dough into a thin, flat sheet.
- Heat a dry frying pan on the stove.
- Drop-in your flat dough and stretch across the pan
- Cook on a high heat for a couple of minutes until it starts to brown and even blisters and blackens a little.
- Flip it, then cook the reverse side.
If you have worked the dough well it will bubble and blister, which is very pleasing to watch. Eat warm, with your choice of topping.
The Successful Sourdough Batch
I’ve cultured a successful starter using method 2.
It takes a little forward planning to make a loaf, even with a premade starter.
The day before I plan to make my loaf, I take my jar of starter out of the fridge. Pour off any clear liquid carefully then pour about 100ml into another Kilner Jar or mayo jar with a plastic-coated inside lid.
‘Feed’ the starter with a generous tablespoon of strong white bread flour and 2 tablespoons of lukewarm water. Stir in the water and flour using a wooden spoon, NOT a metal spoon. Give it a little shake and leave it overnight on the warmest windowsill in the house.
The next day, I start my dough early and can usually get a loaf ready for lunch. If you do it later in the day and leave the shaped and prepared loaf overnight in the fridge, take it out and allow it to get up to room temp for 30 – 60mins and rise a little more then it’s good to go for a breakfast loaf.
Ingredients
- 250g (9oz) Strong White Bread Flour
- 150ml (5 fl oz) warm water
- Level tsp salt
- 75ml (2 3/4 oz) Sourdough Starter
- Tbsp Olive Oil (optional)
Method
- You need 2 non-metallic mixing bowls. In one bowl, combine the wet mix (water, starter and oil) – If you use the dough for a pizza base add oil as it helps keep the dough malleable if you are making a loaf leave out the oil. In the other bowl combine the salt and flour.
- Add the dry mix to the wet mix and stir with a wooden spoon (NOT metal) until it combines to a sticky dough.
- Put the bowl from the dry mix over the bowl and let it rest for 10 minutes.
- Kneading stage: Flour your hands. Scoop the dough away from the bowl if it has stuck. Leaving the dough in the bowl, stretch a portion of it up the side and press into the middle, turn the bowl and repeat the process until the dough resists. Cover with the bowl and leave for 10 minutes
- Repeat the kneading stage three more times, leaving it to rest for 10 minutes between kneads. Leave the covered bowl for 1 hour to rest.
- Lightly dust a worktop with flour and turn your dough out onto it, shape into a disk, then line a colander with a flour-dusted tea towel and place your dough in it to rise for 3 to 6 hours.
- Preheat the oven at gas 7 / 200 degrees C. Pour a cup of water into a baking tray and place this in the bottom of the oven.
- Place your dough on a lined/non-stick baking sheet and bake for 30 minutes or until golden brown. To check if it’s ready, tap the bottom of the loaf, it should sound hollow. If it’s still a bit soft cook it for a few more minutes.
Result!
It’s not the most Instagramable but here’s my first springy and tasty loaf!
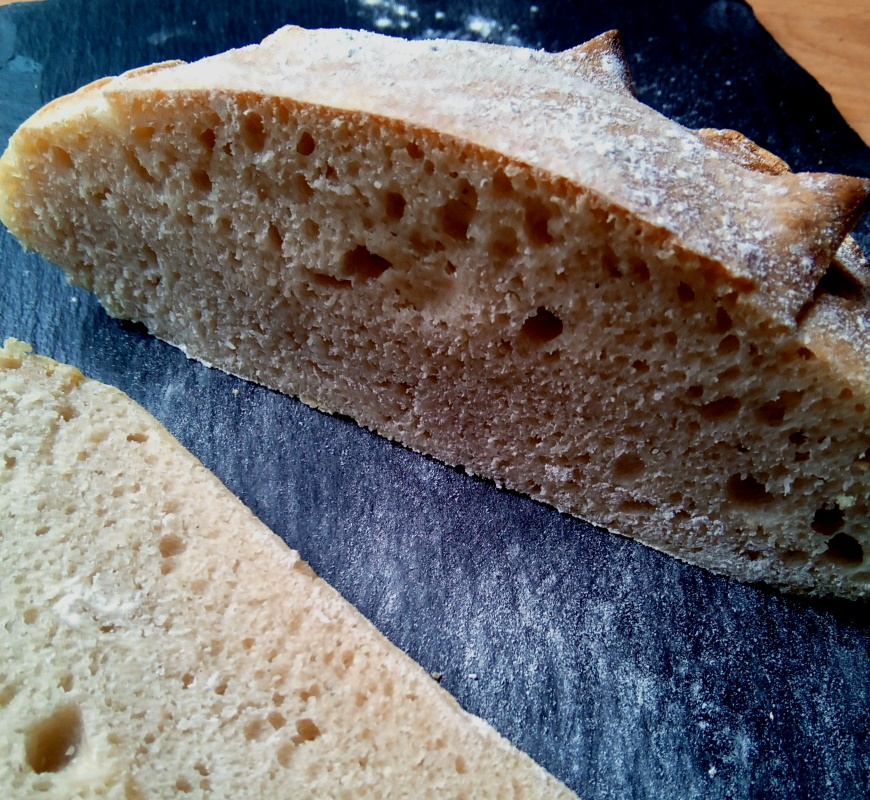
I’ve had mixed results with whole loaves, but the dough makes a couple of good-sized bread rolls, 4 smaller rolls or an awesome pizza base!
I feed the starter mix each time I’m planning to make a loaf and the old starter in the fridge has taken on much more ‘sourness’ over time. The first batches from that starter made lighter loaves, the later ones, as I’ve found my stride with the process have been more flavourful.
Enjoy your fresh and tasty bread! Definitely beats stuff that comes wrapped in plastic!
 Flip This on Flipboard
Follow me on Bloglovin’
If you like what you’ve read, say thank you by topping up the coffee kitty here. £2.50 /$3 will get me a cappuccino, Thanks 🙂