Being the custodian of an allotment is a marathon, not a sprint.
There is so much potential at Hen’s Tooth. I’m pacing myself with different projects and sharing my progress here, to inspire others to make the most of the resources they have and have a go at some practical projects.
I have two sheds on the plot;
1) A Wendy house
2) A potting shed
The small, child’s Wendy house, is at the top of the plot, with an amazing view over the city.
The standard 2ft x 6ft potting shed is at the bottom of the plot.
When I took on the allotment, inside the potting shed were a few raggedy old tools and bags of junk. The Wendy house was empty, with a broken door.
Spring started later in the UK this year, with an especially cold and wet April. It limited the amount of bed prepping and planting I could do, so I prioritised the indoor spaces. I wanted somewhere to escape the weather and to store tools and pots etc.
Potting Shed
I started with the potting shed. That way, I had an indoor place to work and store equipment. This would be my main work area, the office on the plot, and my little kitchen.
Step 1 – Clearing
When you take on any decorating and reorganizing project, the first thing to do is to clear the space and look at what you already have. I needed a day that was at least dry so I could empty everything out without it getting soggy.
I cleared out the old junk, sorted out anything worth keeping, and then gave the place a good dust and a sweep – evicting the resident spiders and woodlice.
Step 2 – Preparation
With everything out of the way I could asses any damage to the structure. There were some old planks left by the previous owners, so I cut some to size and screwed them onto the inside of the roof to cover the gaps. The exterior of the roof is in good condition, but the interior was broken with daylight coming through under the eaves, I needed to make it more watertight first.
Step 3 – Planning
Once the space is empty and watertight, you can then measure up and plan how to configure the space.
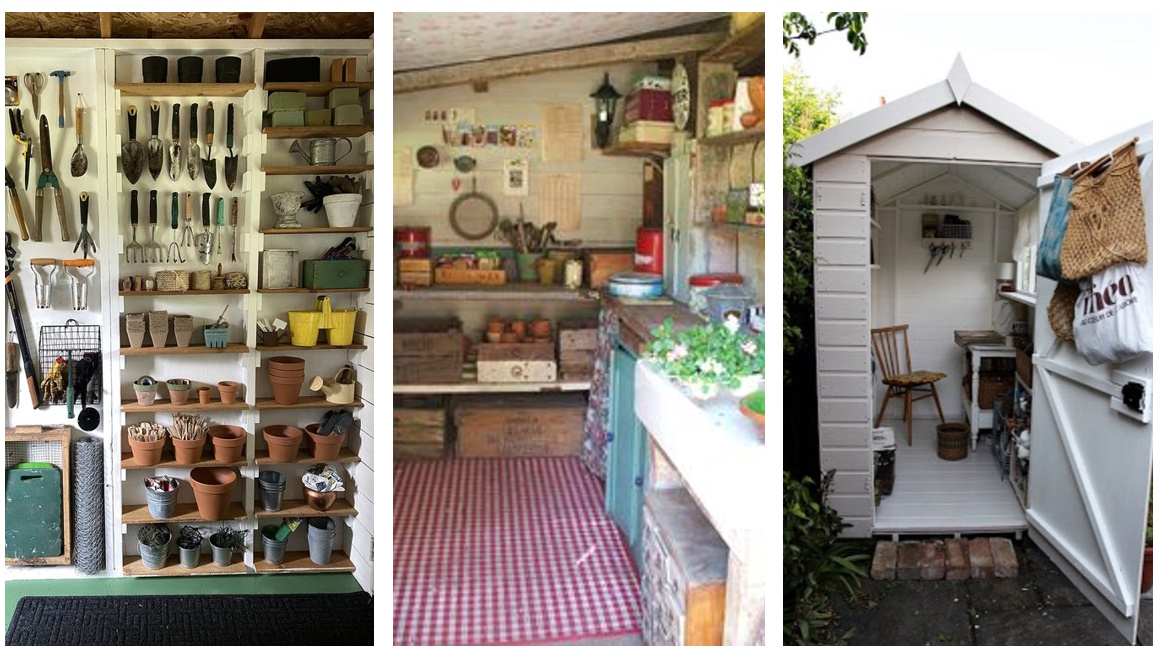
I started collecting ideas and inspiration on a Pinterest mood board.
I had a vision for a well organised, lovely, bright shed. It needed to be functional but also a pleasurable environment to be in, Hen’s Tooth is my little retreat after all, and I knew I would be spending a lot of time there. I wanted it to be comfortable as well as practical.
Taking inspiration from images of other shed projects:
Step 4 – Decorating
I had some paint leftover from home. I used this to paint the inside walls of the shed to brighten it up. I had some old broken laminate floor from our house when we did our kitchen last year. I’m such a womble I always keep things in our shed at home that I think might be useful for future projects. I’ve laid the old laminate on the floor.
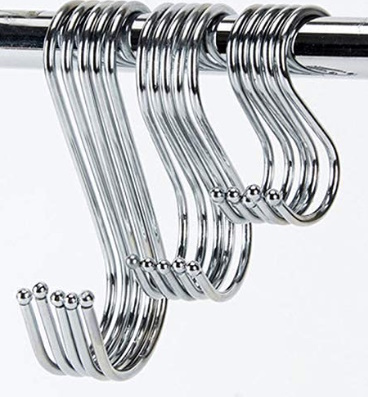
I’d added hooks and nails to hang things from to the walls. I have an old wire grid from a broken greenhouse that I’ve hung on the wall and used S hooks to hang things from.
Step 5 – Dressing the space
Once the walls were painted and hooks and grid attached to the walls I could then start dressing the space.
There was an old chair at home that has been stored behind the shed, so bought this to Hen’s Tooth.
I got a bit crafty and made some projects with jeans – I’ll write another blog sharing my Jeans makes.
I picked up an old, wooden TV bench from a charity shop for 20 quid.
From our kitchen refurb, I already had a camping water box with a tap. I have set up a sink area with the water box and an old mixing bowl underneath as my sink.
I have also set up an area with a hobo stove, so I can boil water for drinks and snacks. I’ll share the hobo stove project on another blog.
The Potting Shed, Before and After
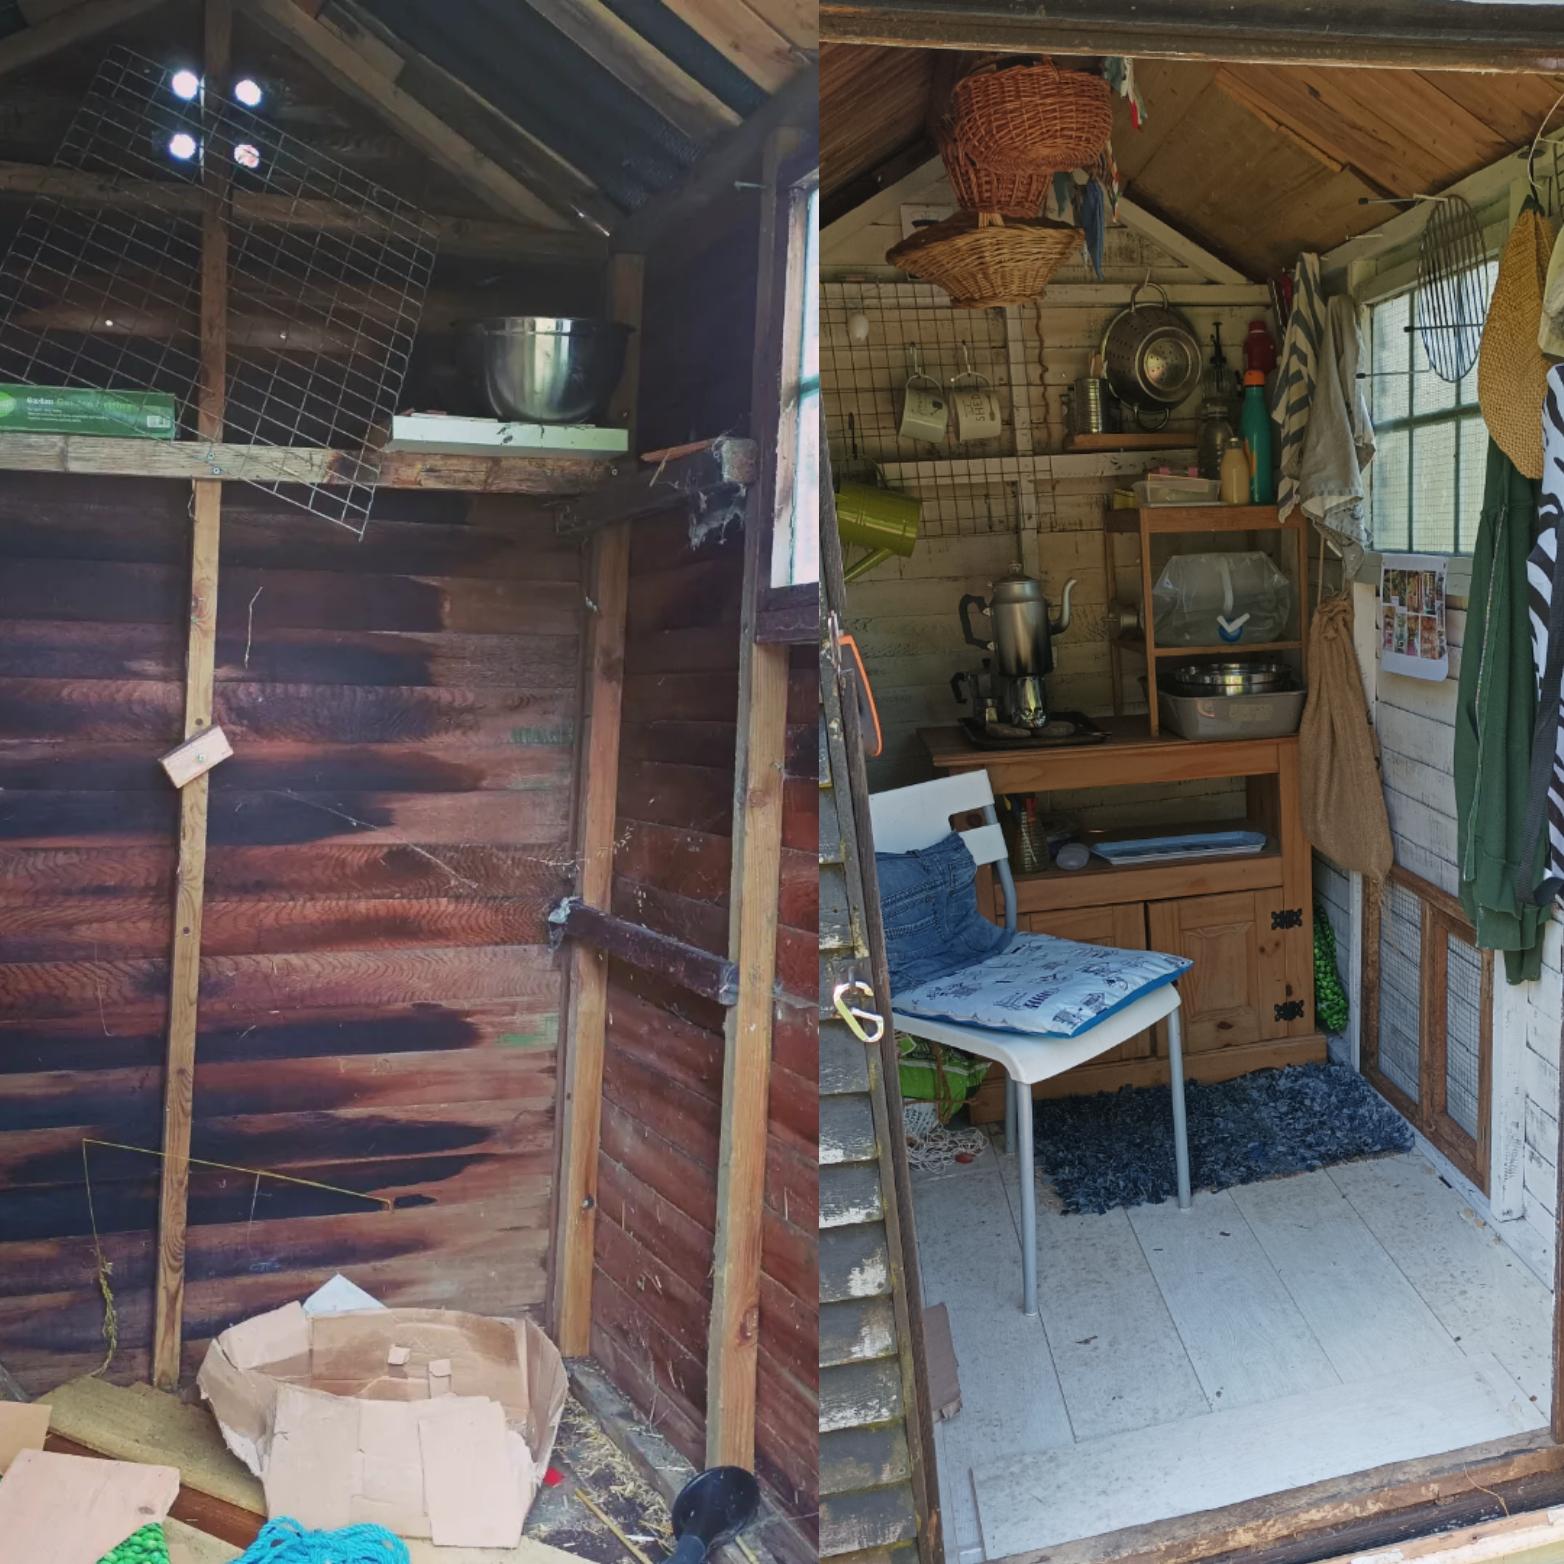
Eventually, I’ll build an extension on the side of the shed and use it as a summer kitchen and potting area, but for now, I’m pleased with my cosy little shed.
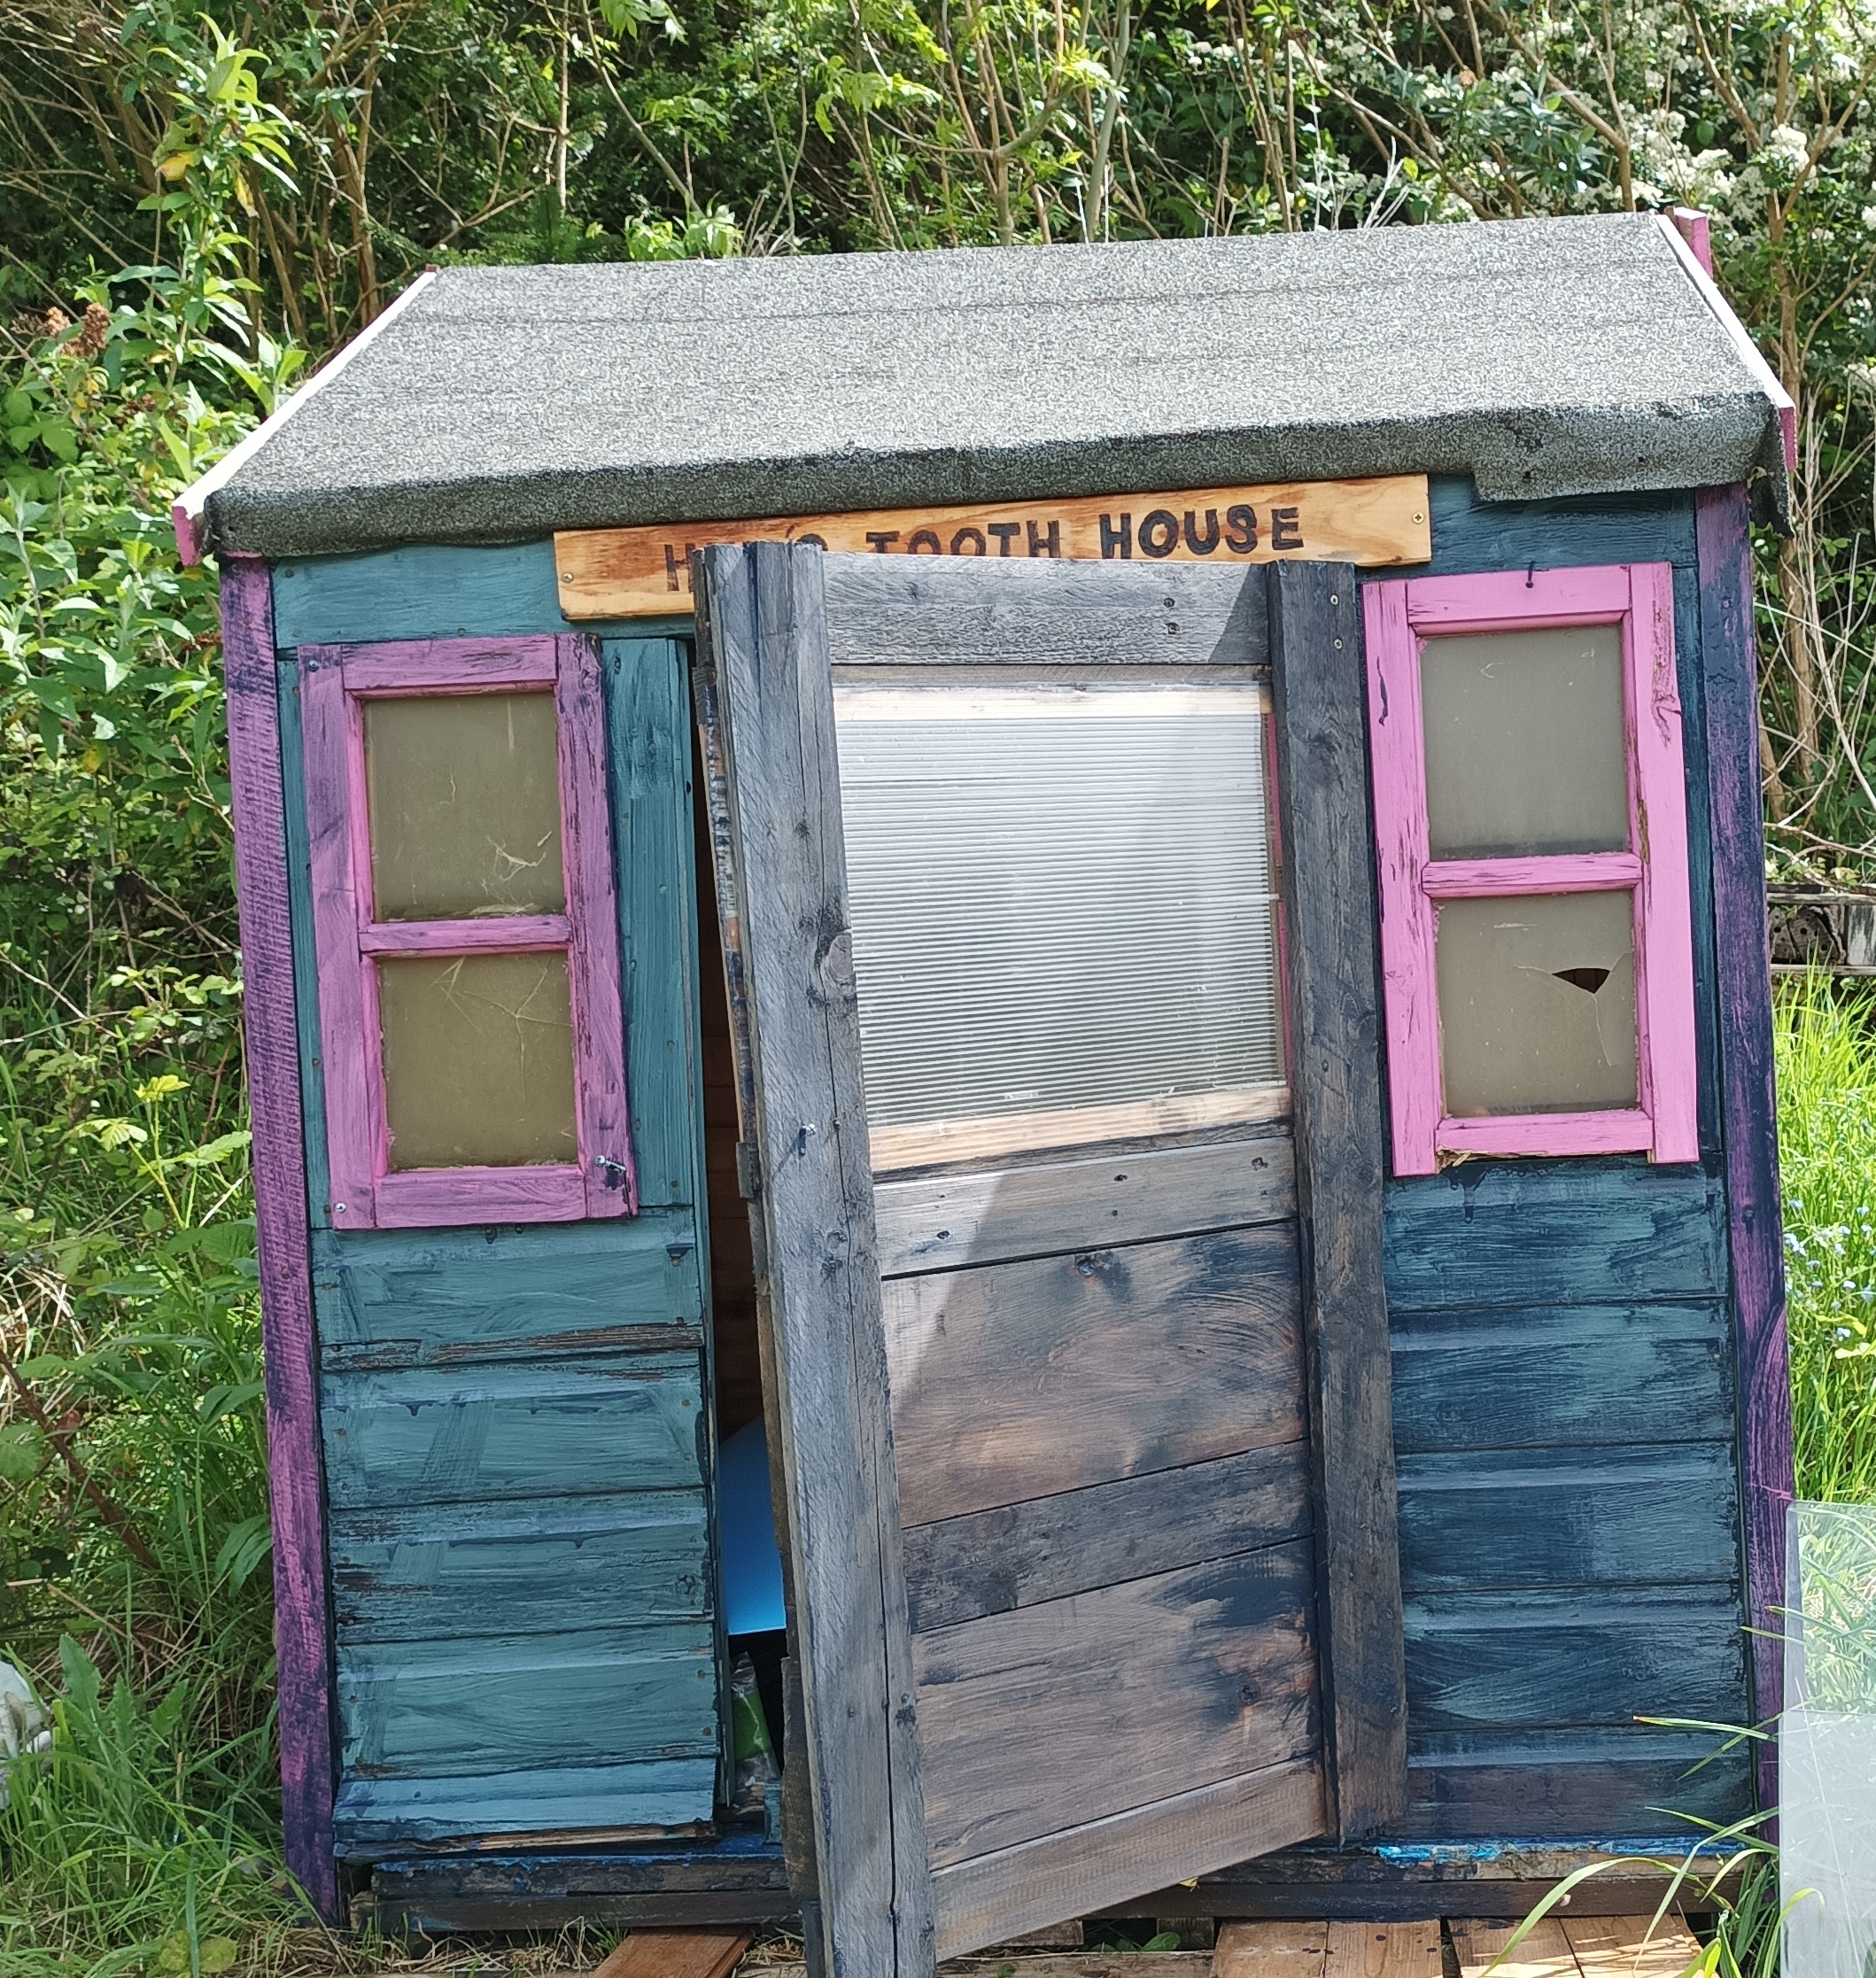
The Wendy House
The Wendy house has been converted into a little chillout zone.
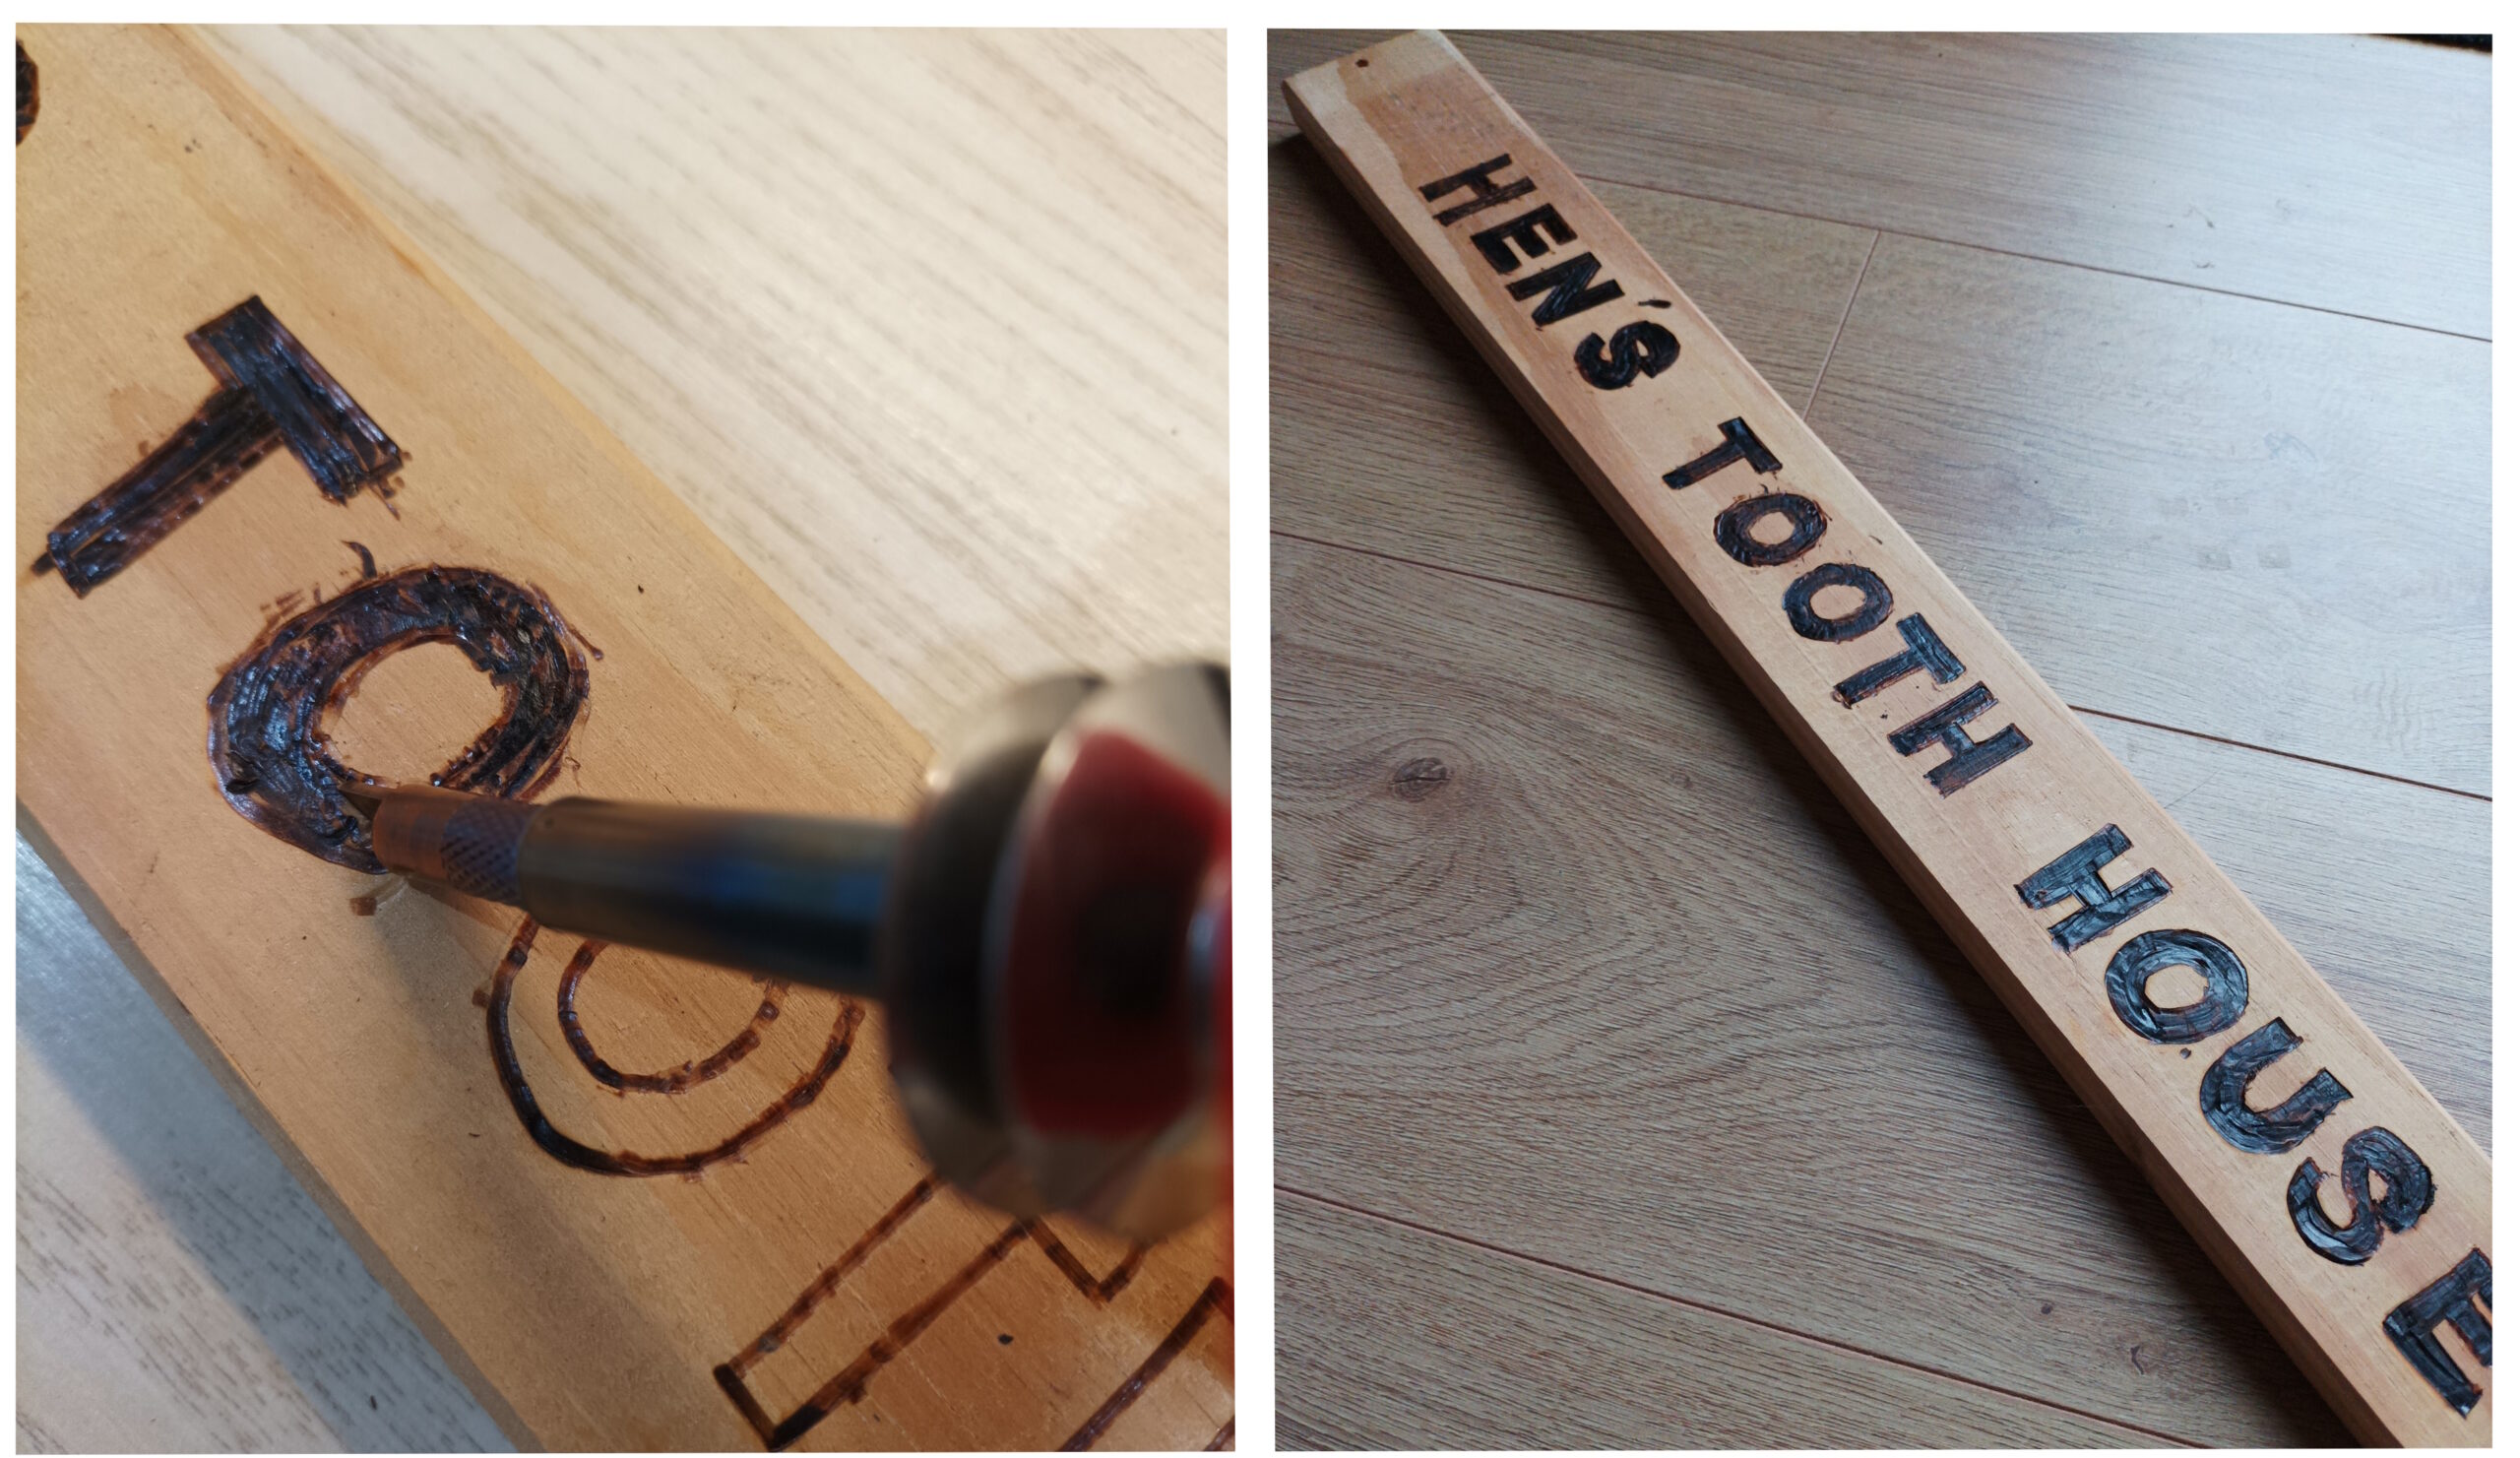
It even has a sign above the door, made with a pyrography tool and an old plank.
It was an open shell when I took it on.
I constructed a new door out of all pallets and a scrap of polycarbonate that I had in the back of my shed.
I swept out all the cobwebs and dirt.
I’ve laid some heavy duty floor underlay, that was left over from our kitchen refurb, so there’s a waterproof membrane on the floor that will also suppress the dust.
I had a big piece of sponge left over from an old mattress that I’ve cut up to make a room-sized floor cushion.
I had an old bed sheet, which I’ve made into a cover for the floor cushion.
While I had my sewing machine out I also made cushion covers and bunting.
Making Cushions
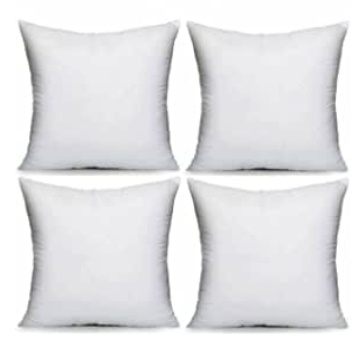
Step 1 – Start with the cushion pad
Start with your cushion pad. I had old cushions in my sewing stash, left over from other home decorating projects. You can also cut up an old pillow into a square and reuse this, or buy cushion pads from plenty of budget retailers.
Step 2 – Select your fabric
I found some chicken themed fabric at my local fabric shop – Calico, to go with the Hen’s Tooth theme.
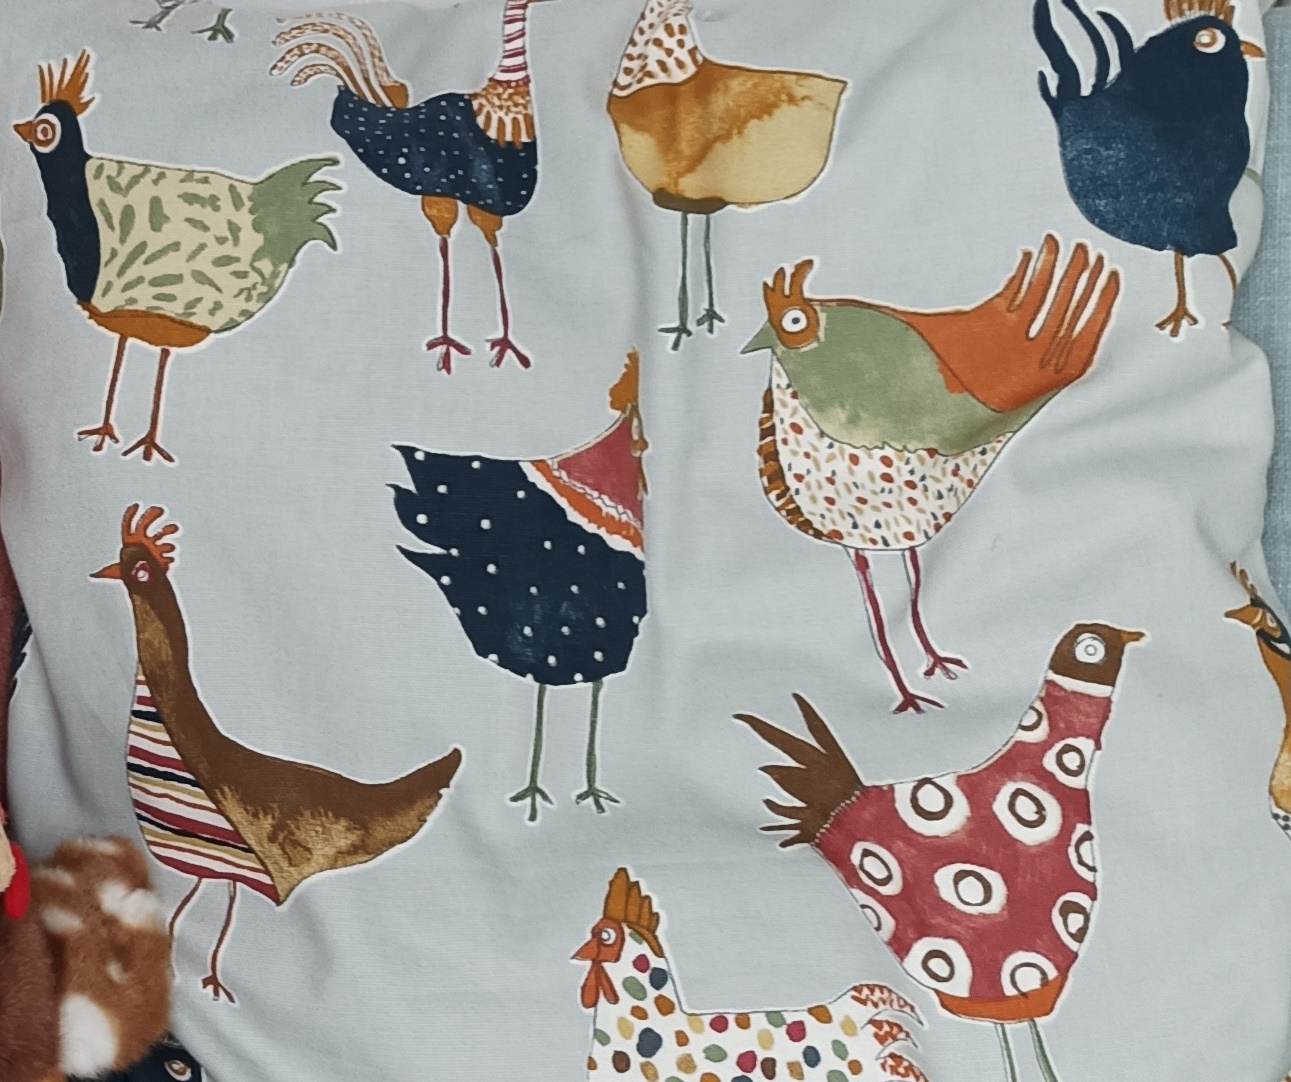
It’s better to use a thicker, upholstery, fabric for more robust cushions, but you can also use printed cotton fabric, old curtains, jeans – whatever fabric you have.
Step 3 – Cut to size
“Measure twice, cut once” – this is always good advice!
How you cut the fabric will depend on how you configure your cushion, the pattern, style, etc.
I’ve gone for a really simple style – I’m not a very skilled seamstress. I know one setting on my sewing machine and can sew a competent straight line, that’s about it. But, for a basic cushion this is all you need.
If you want to remove and wash your cushion cover, you need to think about fastenings.
You can:
- Sew in a zip
- Fold and tuck (like a pillowcase)
- Buttons
- Poppers
- Ribbons
- Velcrow
You can pick up multipacks of zips relatively cheaply. Standard cushions are 30 or 50 cm square, so a 20cm zip should suite most cushion covers.
Sewing in a zip is a little trickier and more fiddly. The trick is to sew the zip side first, then open the zip before sewing the other 3 sides so you can reverse the cover easily.
Here is a tutorial on sewing a zipped cushion cover:

I’ve used a combination of the fold and tuck method and zipped covers.
The Fold and tuck method
Measure 3 x the size of your cushion. Because I have a design on my fabric that goes one way up, I’ve had to cut down the length of the fabric, which can potentially be more wasteful, so I made sure I had a good length of it.
- Working on the reverse side of the fabric, cut the long strip, 3x the pad size.
- Sew hems on the two short ends
- Fold the fabric into 3
- Sew the two open sides
- Turn the cover the right way around
- You can then tuck the cushions pad in like a pillowcase
Bunting
I used the same scraps of material to make some bunting to hang around the inside of the Wendy house.
Bunting also involves sewing straight lines, so if you can make a cushion, you can make bunting.
Make bunting in 19 steps:
- Cut a triangle template from a piece of cardboard.
- Cut it about 1cm around larger than the finished triangle, this is to account for your hem.
- Use this as a template to keep your individual triangles of bunting the same size.
- For each triangle, cut two pieces of fabric.
- Working on the reverse, sew two sides of the triangle
- Turn the triangle the right way around
- Using a pencil or tips of scissors to push the point out
- Set aside and work on the next triangle
- Repeat for as many triangles as you thing you’ll need
- Flatten out the triangles – iron the whole batch
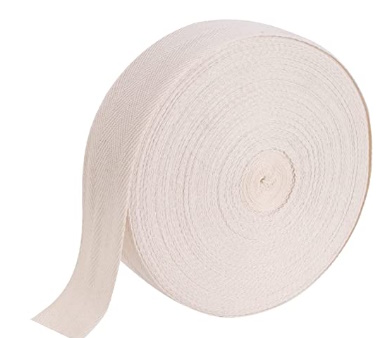
- Apply the ribbon. Use ribbon or bias tape binding in an appropriate colour.
- Choose a wide ribbon as you will be folding it in half lengthways (2cm wide, min.)
- Allow a good few centimetres loose both ends to hang the bunting up (15cm)
- Place the unsewn edge of the first triangle on the ribbon and fold the ribbon over
- Pin in place, then sew
- Once the tape length is on the machine, use something to space the triangles (either measure a gap or use something to space. I used the width of the machine base as a guide) you want to make sure your triangles are evenly spaced along the ribbon
- If you have more than one fabric design, arrange the triangles in an alternating pattern
- Repeat until you have sewn in all the triangles, or the bunting is long enough
- Allow a tail the same length at the end
Using the tape hems on the rough edge of the bunting gives you a nice strong, neat strip of bunting that can be hung either way round.
Here’s a blog with visual instructions, if you need them:
Decorating Hen’s Tooth House Shed
Once I’d made my cushions and bunting at home, I took them to the allotment to decorate the Wendy house.
Similar to the shed, I started by clearing the space, giving it a sweep out and clean, then painted the walls and ceiling with some left over paint.
I put the big floor cushion in first, then scattered the cushions around. I hung up the bunting using a staple gun.
Fortunately, I took on my allotment at Easter time, so after the weekend, shops were selling off their Easter tat. I found egg and chicken themed knick-knacks – I bought some mini egg string lights and some little mini pom-pom chicks to stick with the chicken theme. During a day trip to Cheddar – which, by the way, is the place to go for weird soft toys – I picked up a little cuddly chicken who was become the mascot for Hen’s Tooth.
I’m calling her Henrietta, after one of my pet chickens that died last year.
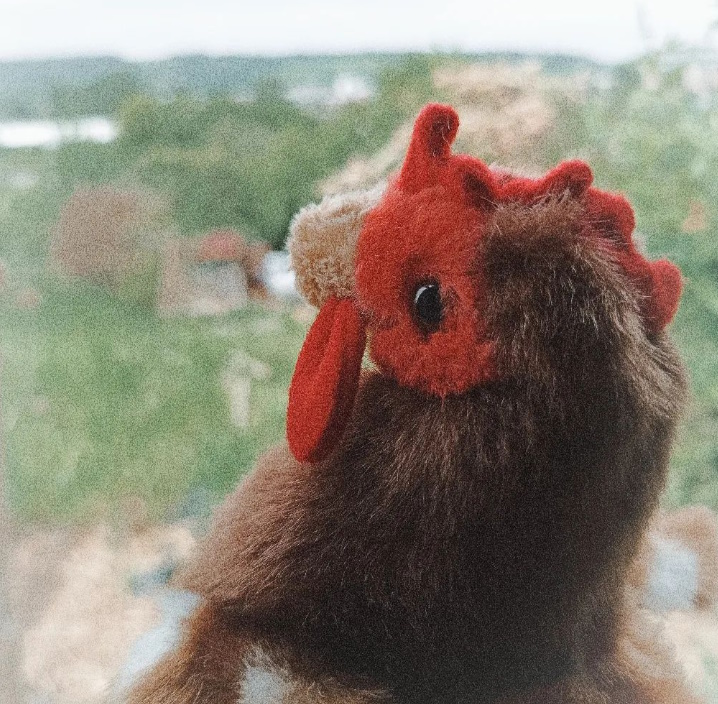
She keeps me company in my cool little chill out space, where I can sit and eat lunch or drink a coffee and watch the city below.
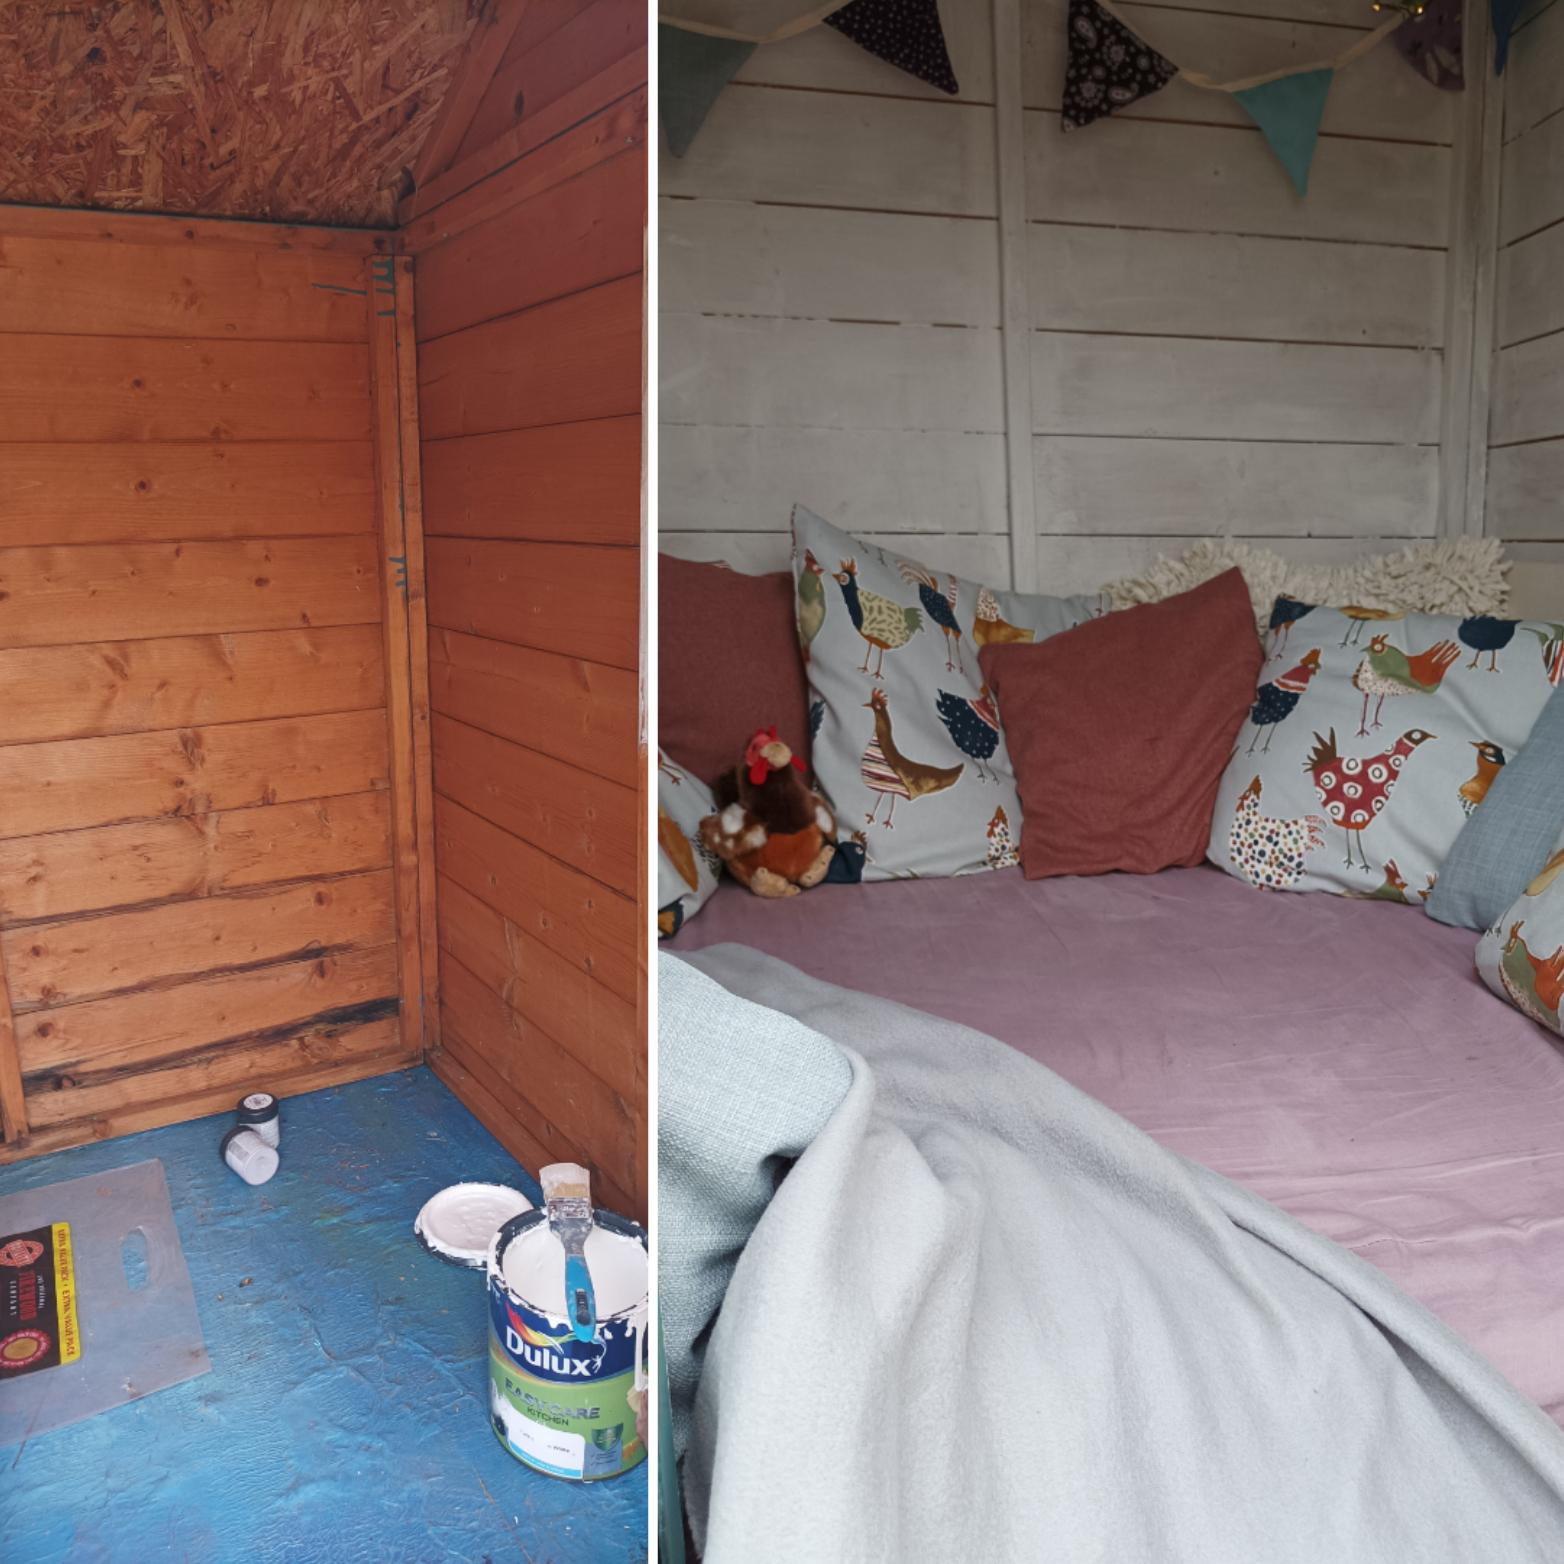
Hen’s Tooth House – Before and After
*As an Amazon Associate I earn from qualifying purchases. This post may contain affiliate links.