It’s been about a month since I took on my Bristol allotment – Hen’s Tooth.
What to do first?
I’ve still not gotten over the excitement of taking on my allotment plot, but there is so much to do.
It’s important to do it step by step and not to try to do it all in the first year. Having an allotment is a marathon, not a sprint.
Happily, it’s the start of the season in the UK and having finished a work contract at the end of March, the timing is impeccable!
It’s been a wet few weeks, with a just the odd day of sunshine, or at least, not rain!
The spring season seems to be late in the UK this year. We still had frost well into April so there wasn’t much I could plant out until May.
For anyone else about to take on their first allotment, or a new garden, here are some things to think about:
Observe your plot:
Before you start doing anything, take a good look at your allotment plot. Notice where the sun hits, where there might be shade, where the soil looks the healthiest or the driest, where the weeds are growing, etc. This will give you an idea of what will grow best where and how you can best utilise your plot.
My plot is covered in grass so there is a lot of clearing to do!
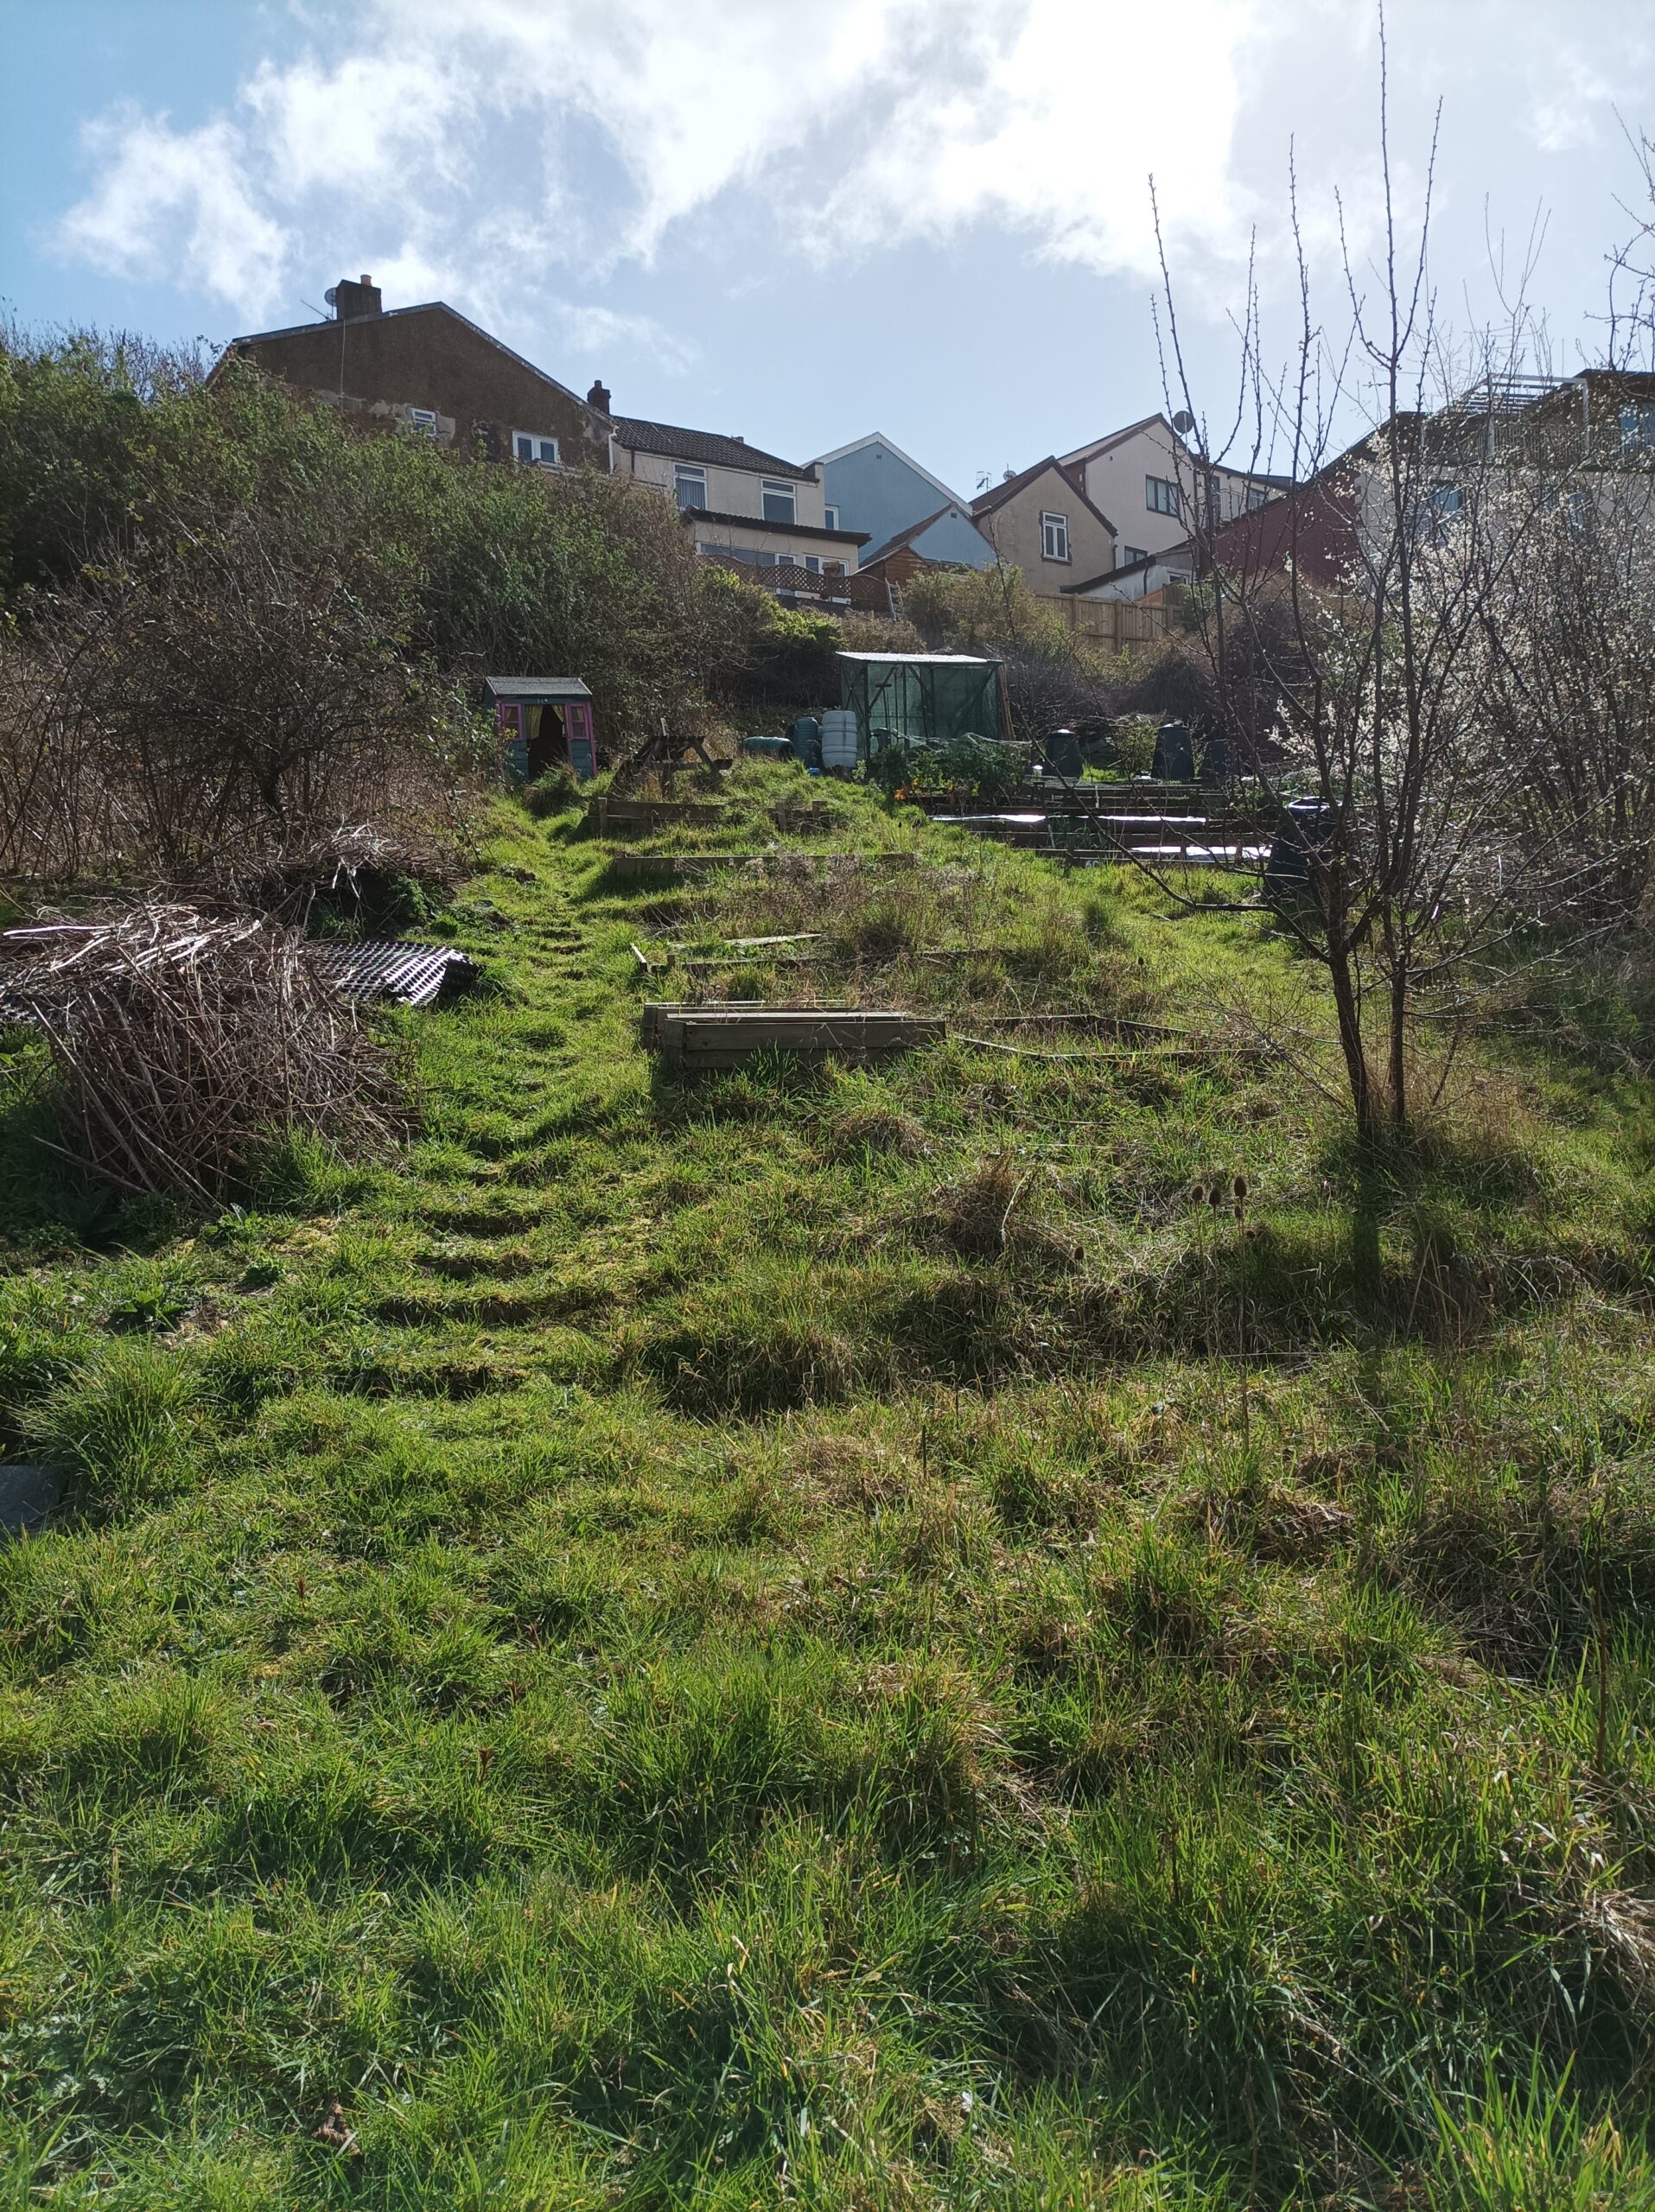
It slopes down South East to North West. There are houses on the southern summit of the plot and the sun comes around and over the houses. This means at this time of year the top of the slope is in shade until lunchtime, the bottom of the plot is the sunniest and the worst of the weather comes in from the west.
This means the side of the shed is a bit of a sun trap – perfect spot to place a bench. Also a good area for greenhouses.
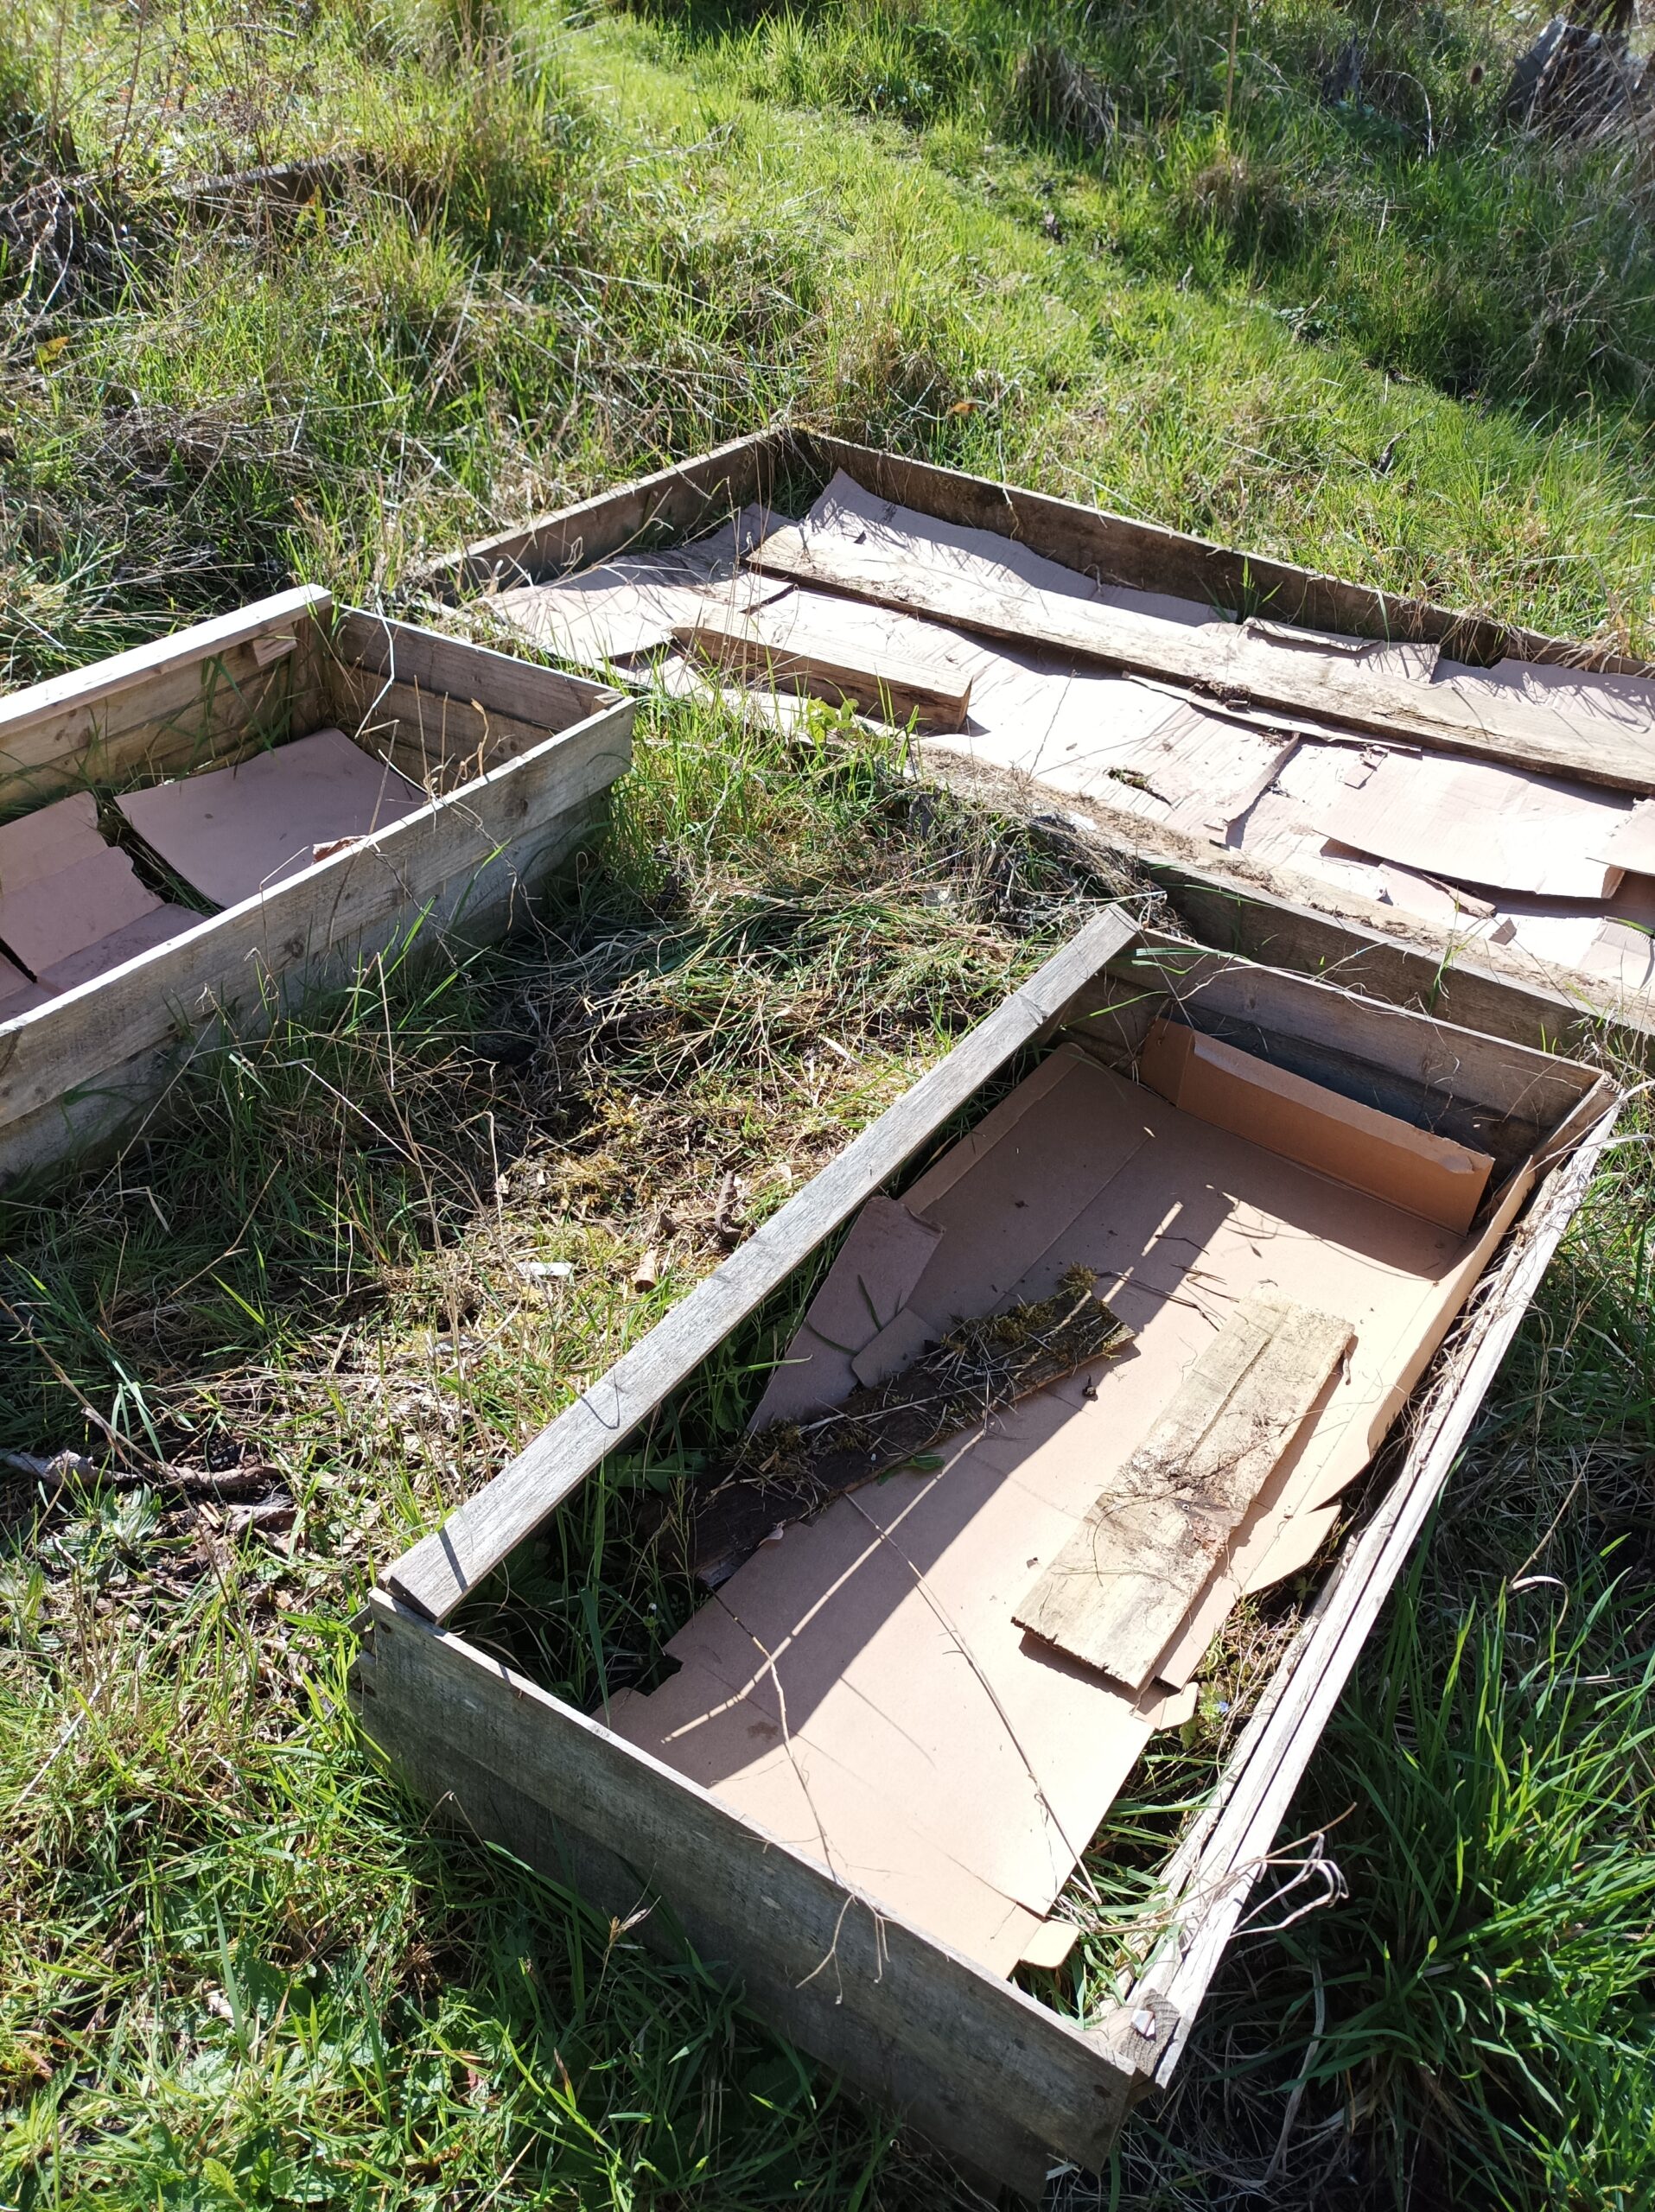
There are ten beds laid out in all, but over time, I can increase this.
Clean up your plot
Most likely, your plot has been left alone for some time and will need some cleaning up. Remove any weeds, rocks, and debris that may be on the plot. This will help you see what you are working with and prepare the plot for planting.
I’ve been collecting cardboard for a few weeks and have laid this on the beds, weighted down with wood and rocks from around the plot.
This was the first thing I did. It will suppress weeds until I’m ready to prepare the beds, and when I come to prep the beds I can just layer compost on top of the cardboard and it will rot down naturally into the soil.
As I gradually clear areas of the plot, I’m laying out more card. I’m also laying out card to cover in woodchip for the working areas and spaces between beds.
I learned this technique while volunteering at Hartcliffe City Farm last year. A couple of local tree surgeons have an arrangement with the Council to dump woodchip at the site, so there is usually a pile free for the use of allotmenteers. The cardboard will rot into the soil over time, enriching it.
It is far better to use cardboard. Using plastic sheeting or plastic based rolls of weed suppressing membrane may seen convenient, but it leaches microplastics into the environment.
I keep finding these membranes under layers of weeds and roots and grasses, when I do they are a nightmare to remove and shed little bits of toxic waste (because that’s ultimately what plastic is – toxic waste).
You can renew the cardboard and woodchip over time and it means that if you ever change the use of an area, you’ve already nourished the soil.
Prepare the soil
Soil is the most important part of your allotment. You’ll want to make sure your soil is healthy and fertile before you start planting. Test your soil to see what nutrients it might need and amend it accordingly. You can also add compost, manure, or other organic matter to enrich the soil.
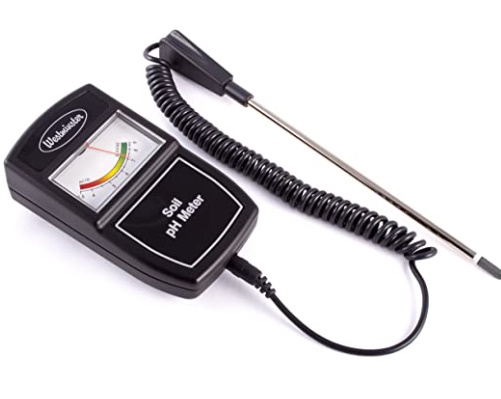
I’ve not tested my soil. Kits are available online.
I’ll be adding compost and nutrients over time, so I’ve not got that technical!
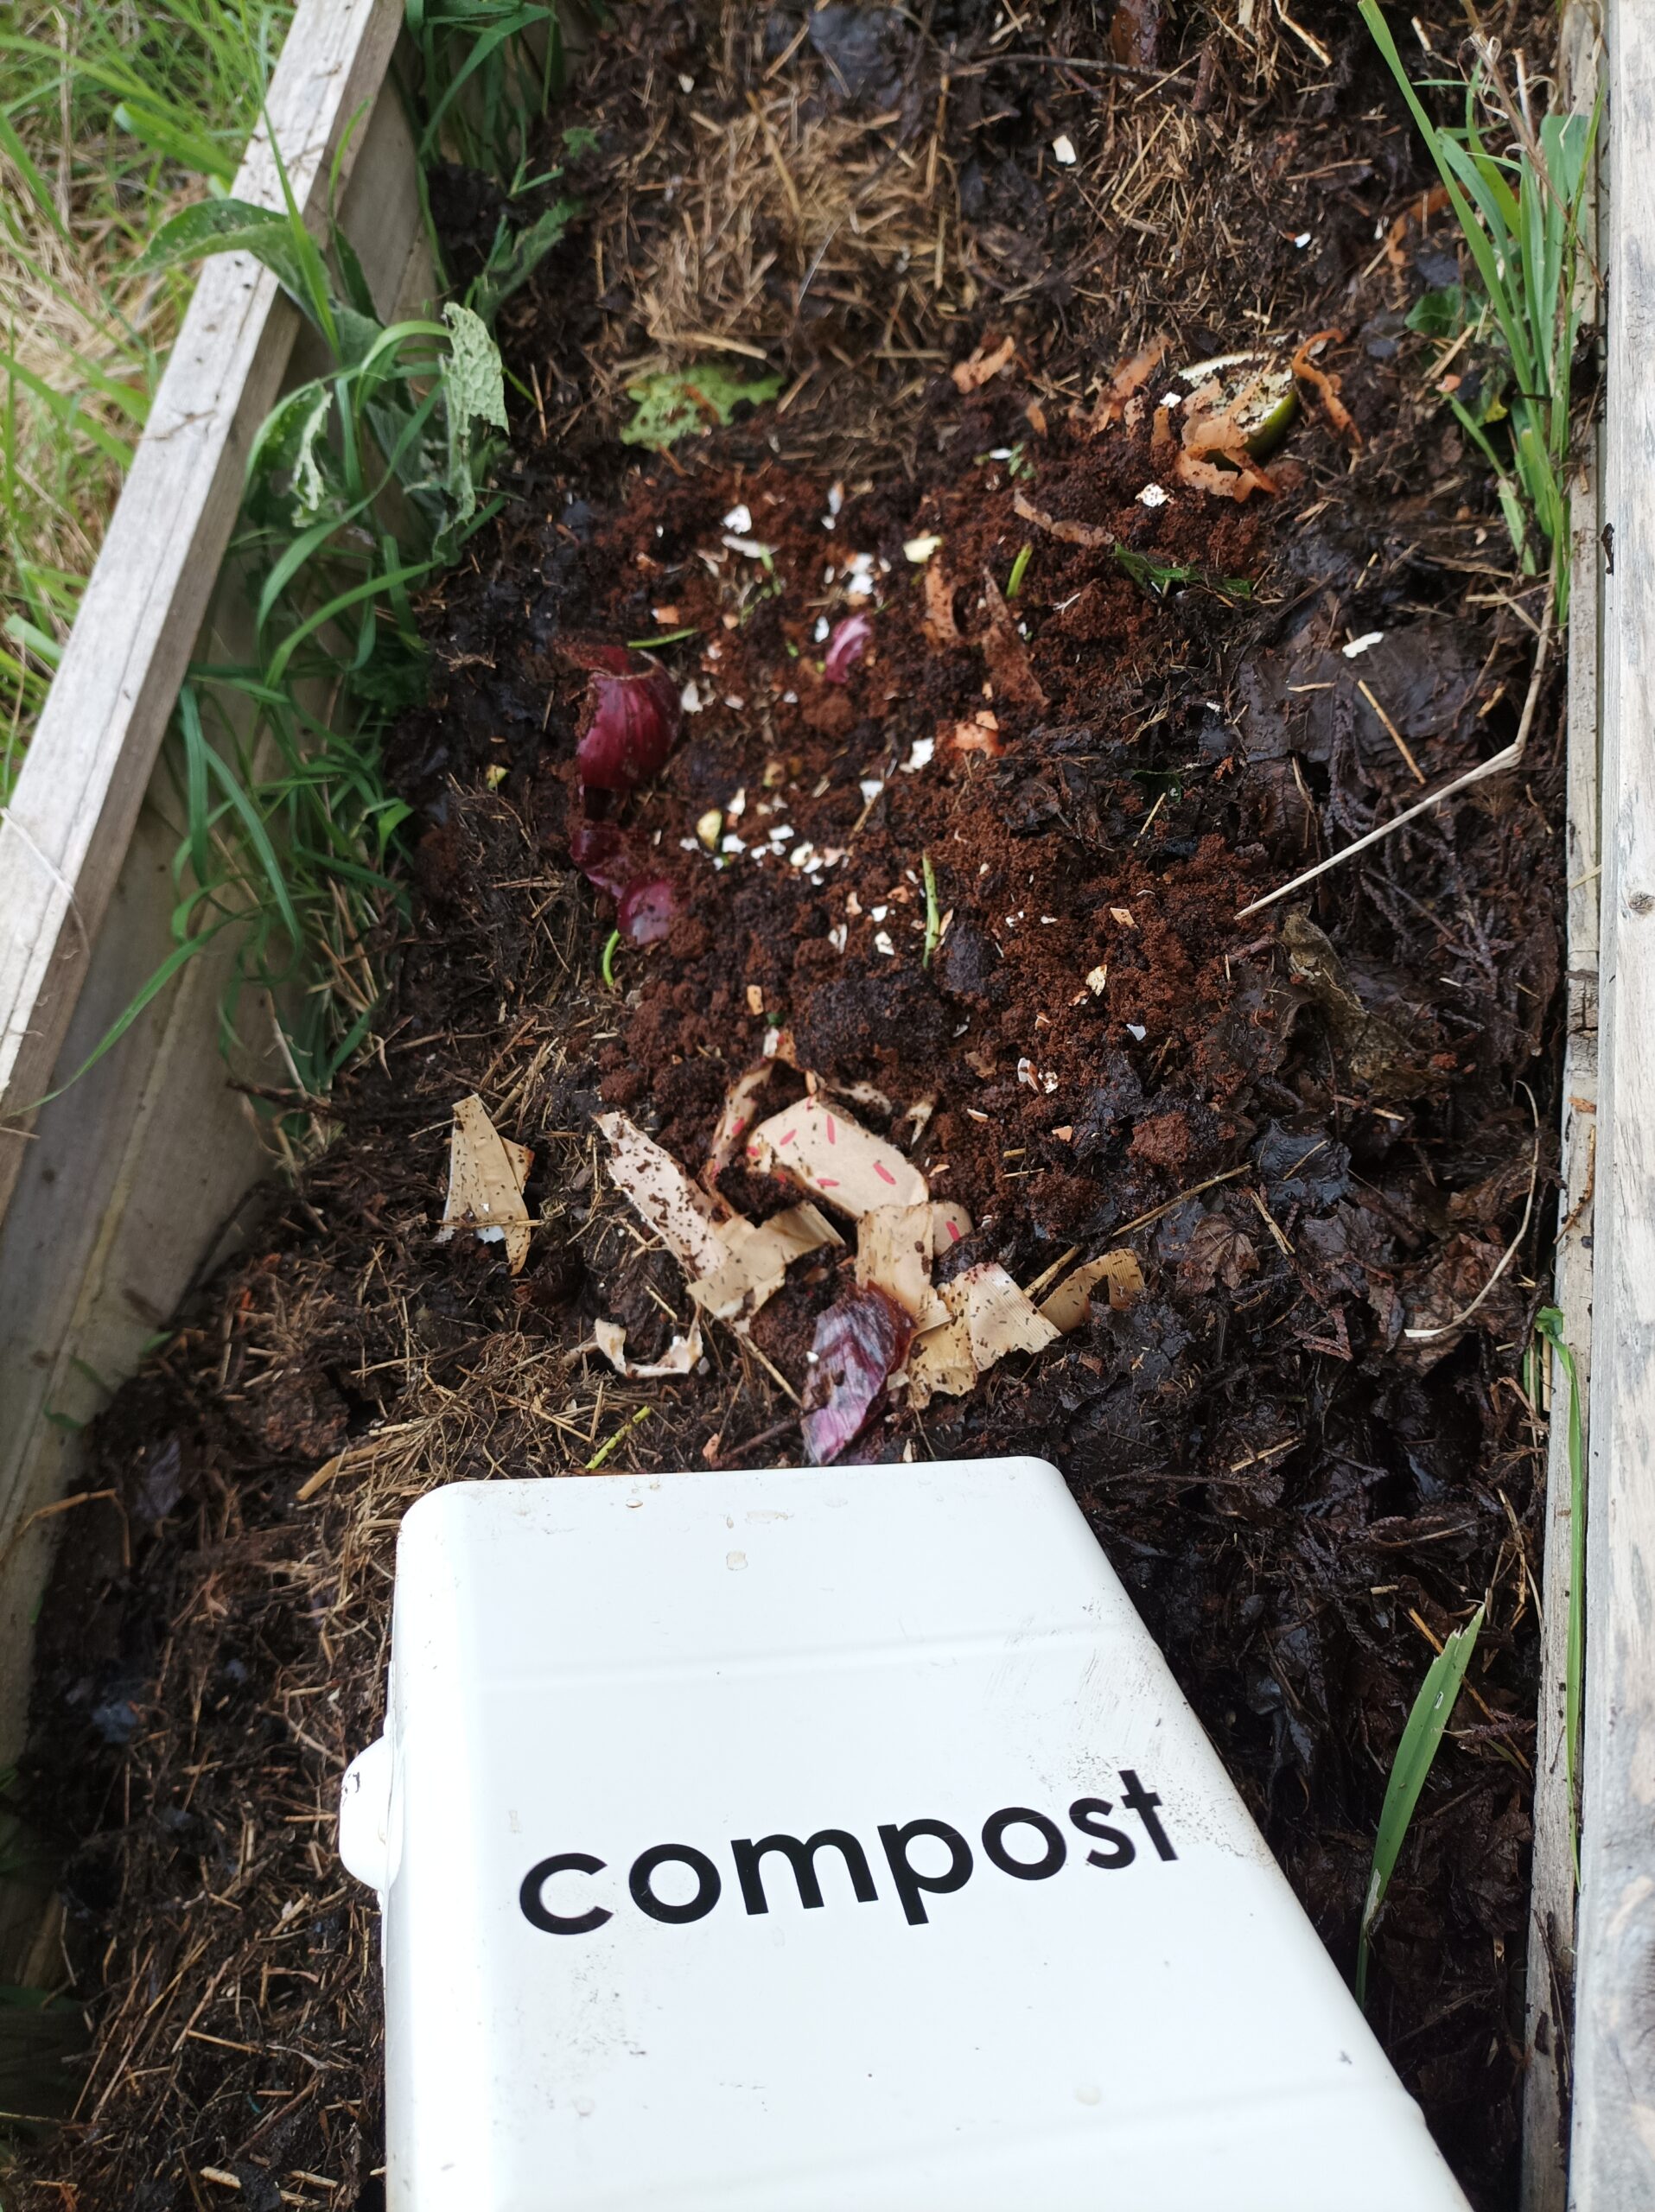
Bristol is on the Avon Gorge; a limestone massif on the edge of the Mendip hills. Our water is heavily mineralled with lime (it’s the place kettles go to die), so I can assume that the Ph is more alkaline that acidic. That means I can happily add tealeaves and coffee grounds (acidic) without upsetting the nutrient balance.
Coffee shops often have bags of spent grounds to take away, so whenever I see some, I grab it to add to the beds.
You can gets testing kits and testing meters online.
The soil is quite heavy clay so retains moisture but is also tough to work. I’ll be using the ‘no dig’ method so this isn’t necessarily a problem.
I’m doing a bed at a time, trying to dig as little as possible. Some of the deep rooted weeds make this challenging. I’ve had to dig over 2 big beds as my potatoes needed to go in, but so far as possible I’m trying to stick to no dig principles.
Plan your plot
Once you’ve observed your plot and cleaned it up, it’s time to plan what you want to grow. Think about what vegetables, fruits, flowers and herbs you want to grow and where you want to plant them. Consider crop rotation and companion planting as well.
I want fruit, veg, herbs and flowers from my plot. I will then have lots of resources and produce to experiment with, and have a well balanced plot with something for all the pollinators, birds and beasties I share it with.
Produce that doesn’t need as much sun and doesn’t need as much attention would be better in the top beds up the slope. They won’t mind the shade and I don’t need to be walking up and down a hill all the time. I can get them in and leave them to it. My potatoes have gone into 2 of these beds.
Once I started cutting back the overgrown grass I discovered there is a rhubarb, some raspberry canes and a fruit bush, that I think is blackcurrant. These are all in one area at the bottom of the plot so I will have this area as my fruit beds.
The next beds up the slope are in a prime sunny spot so will be ideal for cut flowers. I’ll also leave the grassy banks between the different areas up the slope, as wildflower meadow strips for pollinators, cuttings and colour.
Get the tools you need
You’ll need some basic tools to get started, such as a spade, fork, hoe, watering can, and gloves. You may also need some additional tools, depending on what you want to grow and how you want to maintain your plot.
I already had a spare trowel and hand fork. I also raided my in-laws shed, asking if they had anything they could spare. There were some tools in the shed already, left by the previous occupants – I’m somehow now the proud owner of 3 rakes!
You can pick tools up in charity shops, junk shops, car boot sales and it’s always worth looking out for offers. Wilko were selling off surplus garden stock at the start of the year and I’m glad I got carried away buying random bits and bobs, now – like watering cans and gloves.
Start planting
With your plot prepared and your plan in place, it’s time to start planting! Make sure to follow the instructions for planting each type of seed or seedling and water them regularly. As you grow your crops, you’ll need to care for them by weeding, watering, and fertilizing as needed.
I was already starting off seeds at home in my small greenhouse, and now I have the allotment, I’ve had to up my game and start more.
Having the space, now also means I can grow things I’ve not grown at home before as they take up too much room in my small back garden.
I’ll be growing brassicas (cauliflower, broccoli) at Hen’s Tooth.
I can also grow more potatoes and have a larger crop of sweetcorn.
I’m planning what to grow at home and what to grow at the plot.
At home it makes sense to stick to things I use regularly and that grow quickly, like herbs and lettuce.
At the plot, things that take up more room or take longer to grow.
I’m sure I’ll add things over time. I like to grow a small amount of a lot of things. This provides a variety of ingredients and resources for makes, but also minimizes the risk of failures, as even if some things don’t work, at least I’ll still get some produce.
At home:
Herbs, cut and come again leaves, spring onions, tomatoes, peas and beans, cucumber, gherkin, courgette, spinach
At Hen’s Tooth
Flowers for cutting, sweetcorn, potatoes, cauliflower, broccoli, onions, tomatoes
No Dig and Hügelkultur
I want to do the no dig method, but currently don’t have enough compost, so I’m doing what I can with the resources and the soil that’s on the site.
I have planted up my potatoes and I’ve had to dig them in. I’m hoping that they will help to break up the soil over time and I can mulch over them to continue to improve the soil next season. I don’t want to buy lots of plastic packed bags of compost, creating unnecessary plastic waste.
I’m using the Hügelkultur method. This involves layering compostable things like a lasagna. Start with larger things like wood at the bottom, then shredded up paper and cardboard, fruit and veg scraps and peelings, and then finally a thin layer of compost. The idea being that the layers will gradually break down and improve the soil.
Effectively, I’m growing directly on top of a compost heap and not wasting lots of money on buying soil and compost.
What else?
I have some big plans and grand ideas. I’ve started a Pinterest board, where I can gather ideas, inspiration and things to try at the plot.
She Sheds
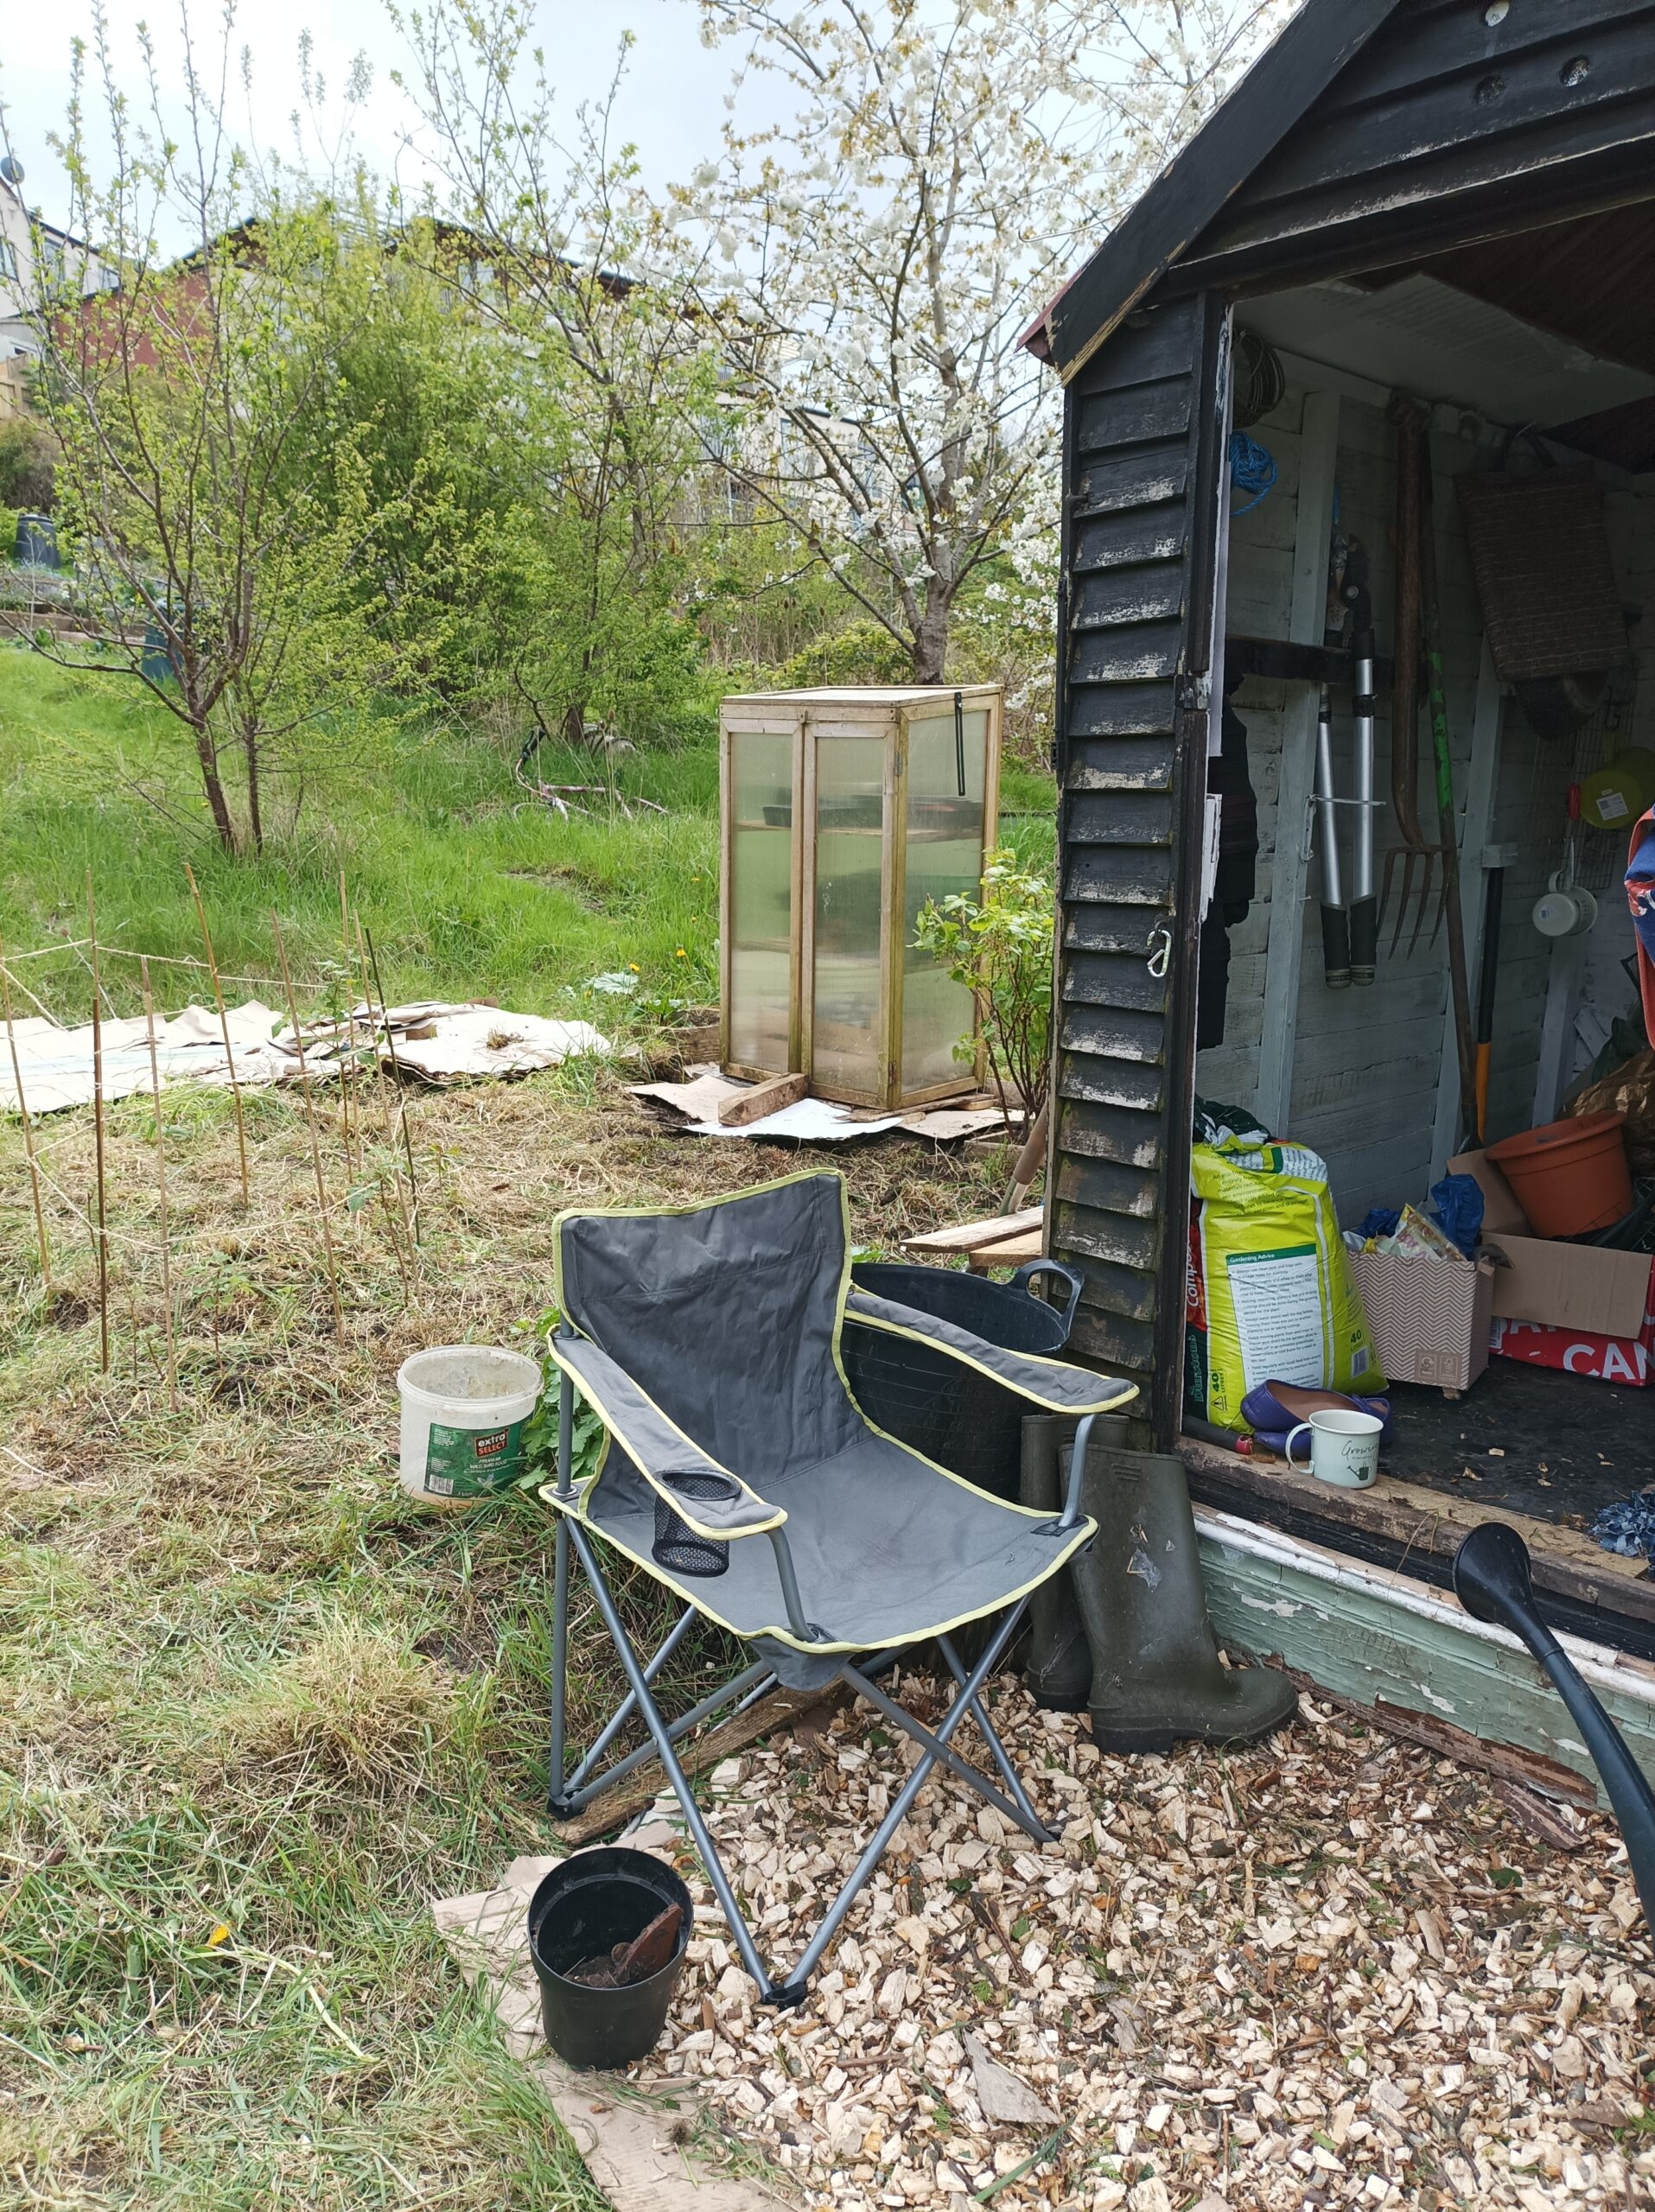
I have 2 sheds: a small child’s Wendy house at the top and a standard, small potting shed at the bottom.
I’ll be refurbishing these and adding to them.
Off Grid
I want to try off grid experiments, like a stove to make hot drinks and a compost toilet.
Pallet Projects
I have so many ideas for pallet projects, I’ve added a special section to the Pinterest board.
So much to do – and at some point I need to actually get some plants growing!