I’ve never been one of those women that slathers on layers of make up. I go into Boots, and I’m baffled by the array of products.
What the hell is ‘Buffet Serum’, anyway? It sounds like the condiments section in a posh food hall…
Or ‘Silicone Primer’ – Don’t you use that to fill holes on walls before you paint over them?
The % and + symbols next to unpronounceable words. Are we applying spreadsheets to our faces in the name of beauty, now?
Baffling.
Anyway…
More harm than good?
On the positive side, it’s about feeling confident, empowered, enhancing your best features, and expressing your individuality.
However, the beauty industry has a lot to answer for.
Aside from the unrealistic expectations and judgements it places on women – at worst, misogyny, at best profiteering from vulnerability – it’s impact on the environment is shocking.
- 120 billion plastic cosmetic packagings are produced annually. Almost all of these packagings are intended for single-use. If the industry were to use refillable containers, it would eliminate 70% of carbon emissions.
- A test of over 230 cosmetic products at the University of Notre Dame revealed that 48% of lip products, 56% of foundations and eye products, and 47% of mascaras contain fluorine, a severe skin irritant.
- The increased use of single-use plastics in the beauty industry contributes to the increasing sea pollution.
(Source: 22 Beauty & Cosmetic Industry Statistics That You Must Know (ecofriendlyhabits.com))
Doing Some Research
I’ve just read this book – Go Toxic Free
It’s an easy to read, well referenced and researched guide with plenty of tips to reduce the chemical load in your life.
I would have liked more recipes and tips from it, but there was enough to get started, with ideas to take forward and research further.
In my steady progress to lead a more sustainable and ethical life, reducing the chemicals I use at home and on my own body is another worthwhile step.
It inspired me to have a go at making my own make-up.
My Make Up Drawer
I’m not ‘into’ makeup and all the fancy cosmetics, and never have been.
That said, I do wear some makeup. At my age I need a little help to make myself presentable to be seen in public!
But over the years you can’t help but accumulate random trays of eyeshadow, pencils, powders, creams etc. Most of which I never use, and they clutter the top drawer. So many broken powder compacts, eyeliner pencils stubs, unused colours in multipacks…
When I’m at home I don’t even bother with make up.
My daily routine is:
A light application of foundation to even skin tone and minimise redness.
Concealer for problem areas like redness around my nose and dark bags under my eyes.
Eyebrow pencil – I have thin, blonde eyebrows.
I stopped using mascara years ago as it always made my eyes water. For definition I use a black pencil or sometimes a strategic dusting of dark eyeshadow.
For an evening look I’ll go heavier on the smoky eyeshadow, eyeliner, and lipstick.
These are the items I use regularly:
- Foundation, with sponge to apply
- Face powder
- Eyebrow pencil
- Lip balm/gloss
- One pallet of natural eyeshadows, with a built in brush. Ranging from light to dark for multiple options, from a light shadow to brighten up, to a smoky shade for a night out.
This the most I can ever be bothered with.
All of the regular items I use can be replaced with homemade alternatives. So, I took to Pinterest for inspiration.
I love these recipes on Treehugger and have started to experiment with them:

Why make your own make up?
Here are a few reasons to have a go at making your own make up:
- Make up is really expensive – save money.
- Make up is heavily plastic dependent. Be that as an ingredient in the form of liquid polymers (plastics) used for the ‘glossy’ look, and the packaging. Avoid plastic by making your own.
- Reduce your chemical load, by substituting for food grade, natural ingredients. Our skin is absorbent. If you wouldn’t put it in your mouth why would you put it on your skin?
- Customise your make up bag. Play with colours, intensities, experiment with home grown ingredients.
- The reassurance of knowing exactly where it came from and what’s in it.
- Another small act of rebellion against neoliberalism, by taking steps to being self reliant, not having to buy everything!
- Reduce the likelihood of allergic reactions. Or if you have sensitive skin. Knowing the ingredients minimises the risks of a flare up.
- Something aesthetically pleasing, unique and lovingly made. Package up your makes in trinket boxes, jars, vintage bottles, tins, (rummage around in charity shops for unusual and low cost items), add labels, ribbons and crafty touches.
- Have some fun experimenting with your craft kit.
- Satisfaction of making something that really works
My Make Up Bag Makes
- Face powder
- Foundation
- Eye shadow
- Eyebrow filler
- Lip balm – I’ll leave this for another blog but there are lots of simple recipes out there to make your own lip balm. I like to use peppermint essential oil in the lip balm for a minty fresh zing.
A base to build from – Recipes
I’ve started with the recipe for the face powder because this is a good base for the subsequent recipes.
As you have all the ingredients out anyway, it makes sense to have a go at a few recipes at the same time.
Equipment
- small microwave safe dish
- spoons
- variety of containers, for mixing and packaging
I like this selection of tins. Enough to make gifts as well, with a variety of sizes for different purposes:
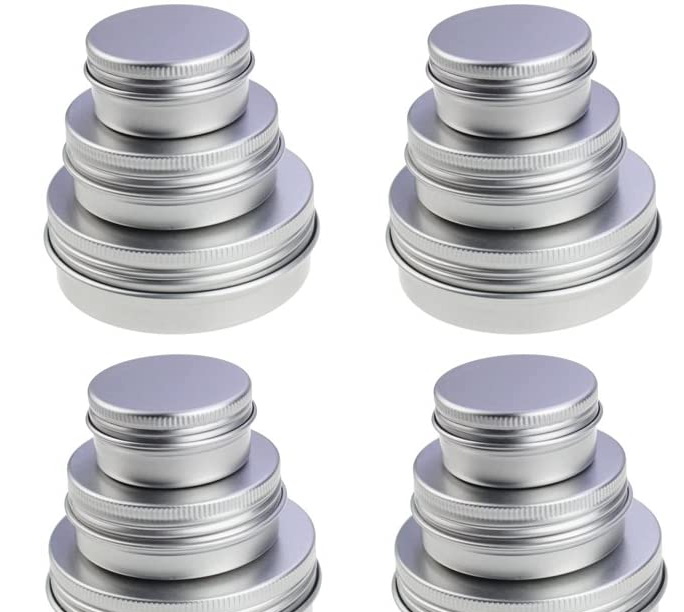
Before you start, get a selection of containers for your makes. Larger for the powder, smaller for eyeshadows, pastes and balm.
Face powder can be made from everyday items in your pantry. The great thing about this recipe is you can tailor the shade to your own colour, rather than shop bought standard blend. Plus, it smells great, too.
Face Powder
Ingredients
- Cornflour or arrowroot powder – (both plant based; no mining for minerals!)
- Cinnamon
- Cocoa powder
- Beetroot powder
- Turmeric
- Activated charcoal powder
- A container: Jar, tin, trinket box, old powder pot etc.
Method
Start with a small batch to experiment and test it on your skin.
When you find a ratio of ingredients that match your skin tone, scale up the volume to fit the container you are using.
Start with 2 tablespoons of cornflour/arrowroot. This is the powder base, then start adding the colours – go easy on the turmeric and beetroot, they are intense colours.
Cinnamon creates a brownish-orange hue.
Turmeric, yellow.
Beetroot, red
Cocoa, brown.
Charcoal, black
Sprinkle in small amounts of each colour, with a teaspoon. Stir to mix the colours evenly, and keep testing on patches on the back of your hand until you’re happy with the blend.
If you have darker skin add more cocoa, cinnamon and a little charcoal if you have very dark skin.
For fairer skin tone, a touch of beetroot and turmeric for the peachy colour. If you add too much colour, add more white base powder until you get a shade you are happy with.
Use the powder as you would any loose powder. I apply it with a large, soft bush.
Foundation
Now you have your powder base, you can turn some into foundation by stirring a little into a natural, unfragranced face moisturiser.
You can even make your own moisturising base by melting cocoa, mango or shea butter and coconut oil in the microwave (2 parts butter to 1 part oil) Mix in your colours and leave it to set.
Tip: make a small batch as it will only keep for a few days, unless refrigerated.
Concealer
If you have a stubborn blemish to cover up, mix some powder base with coconut oil. Melt a teaspoonful of oil in the microwave for a few seconds, then stir in your coloured powder to the desired colour intensity. Pour it into a small tin/jar and let it set in the fridge. Apply with a stiff brush, foam sponge or even your finger.
Eyeshadow
Use the same ingredients from the face powder but adjust the quantity. Start with a teaspoon of the cornflour/arrowroot then add your desired colours. For smoky colours, go heavier on the charcoal, cocoa and cinnamon. For peachy and pink tones use the beetroot and turmeric.
Other colours:
- Spirulina or maccha powders, for green hues
- Blueberry powder, for blue / purple hues
With the primary colours (Yellow: turmeric. Blue: blueberry powder. Red: beet powder) the possibilities are endless.
Eyebrow filler / eyeliner
I usually use an eyebrow pencil for accuracy, but you can make a simple paste and apply it to define eyebrows with a fine brush.
Ingredients
- Activated charcoal powder
- Cocoa Powder
- Cinnamon
- Coconut oil
Method
Mix a combination of the powders together to reach the desired shade. Use more charcoal for dark hair, cocoa for brown hair and more cinnamon for blond/red hair.
You can brush the powder on directly, but it’s less accurate and can get messy. To make it into an easy to apply paste, melt a teaspoonful of coconut oil in the microwave for few seconds. Mix in your powders then pour into a small tin.
You can use this method for eyeliner, too, by going heavier on the pigments.
Enjoy experimenting, and I’d love to know how you get on!